Spare part inspection
Before removing or installing a spare part, check whether the connections, mountings, and other installation-relevant characteristics are identical.
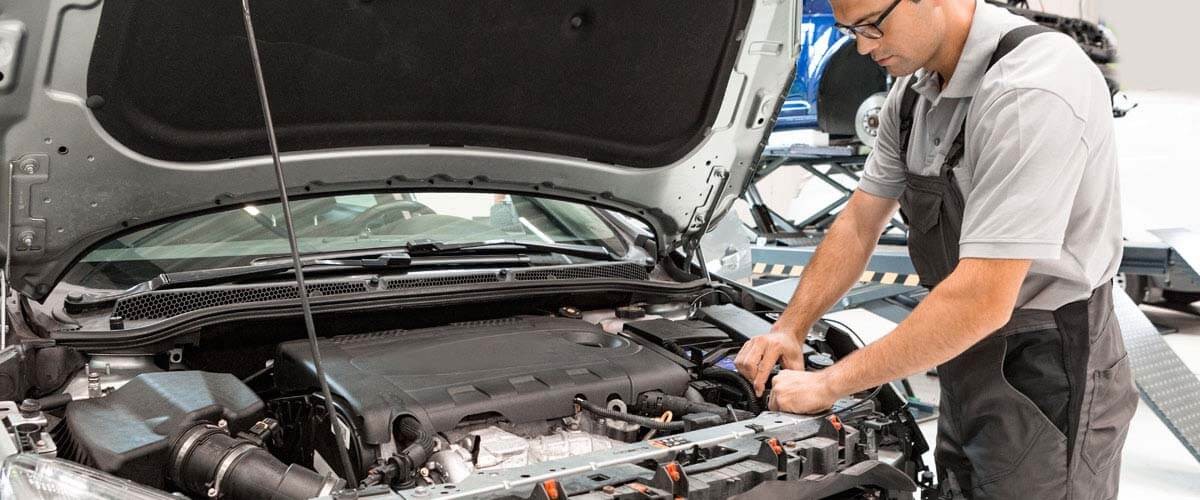
The air-conditioning system used to be something reserved for the upper classes. Today it is standard equipment in all vehicle classes. But how does it achieve cooling and which components are actually involved? Here you will find not only find answers to these questions, but also tips on the maintenance, troubleshooting, and repair of air-conditioning systems.
In addition to test tools and special tools, every garage requires the relevant specialist knowledge, which can be acquired through training. This applies in particular to air-conditioning systems. Due to the different systems, these instructions can be used as guidelines only.

| Air-conditioning systems with expansion valve | |||
| Low pressure | High pressure | Outflow temperature at the center vent | Possible causes |
| high | high | higher, up to ambient temperature | engine overheated, condenser contaminated, condenser fan defective/incorrect direction of rotation, system overfilled |
| normal to occasionally low | high, occasionally | higher, possibly fluctuating | expansion valve stuck, occasionally closed |
| normal | high | slightly higher | Ffilter dryer aged, condenser contaminated |
| high | normal to high | higher depending on bottleneck | line from compressor to expansion valve narrowed |
| normal | normal | higher | too much refrigerant oil in the system |
| normal, but inconsistent | normal, but inconsistent | higher | humidity in the system, defective expansion valve |
| fluctuating | fluctuating | fluctuating | expansion valve or compressor defective |
| normal to low | normal to low | higher | evaporator contaminated, lack of refrigerant |
| high | low | higher, almost ambient temperature | expansion valve stuck in opened position, compressor defective/td> |
| low | low | higher, up to ambient temperature | lack of refrigerant |
| low pressure and high pressure are the same | low pressure and high pressure are the same | Ambient temperature | Lack of refrigerant, compressor defective, fault in the electrical system |
| Air-conditioning system with orifice tube | |||
| Low pressure | High pressure | Outflow temperature at the center vent | Possible causes |
| high | high | higher, up to ambient temperature | engine overheated, condenser contaminated, condenser fan defective/incorrect direction of rotation, system overfilled |
| normal to occasionally low | high | higher | system overfilled, condenser contaminated |
| normal | normal to high | fluctuating | humidity in the system, orifice tube occasionally blocked |
| high | normal | higher | orifice tube defective (cross section) |
| normal | normal | higher | too much refrigerant oil in the system |
| normal to low | normal to low | higher | lack of refrigerant |
| low pressure and high pressure are the same | low pressure and high pressure are the same | Ambient temperature | Lack of refrigerant, compressor defective, fault in the electrical system |
Before removing or installing a spare part, check whether the connections, mountings, and other installation-relevant characteristics are identical.
When replacing components, always use new O-rings suitable for the refrigerant.
The compressor oil has a pronounced hygroscopic effect, which is why the system should remain closed as much as possible and the oil only added shortly before the refrigerant circuit is closed.
Prior to the installation, O-rings and seals are to be greased with refrigerant oil or special lubricants in order to facilitate installation. No other greases or silicone spray may be used as this results in immediate contamination of the new refrigerant.
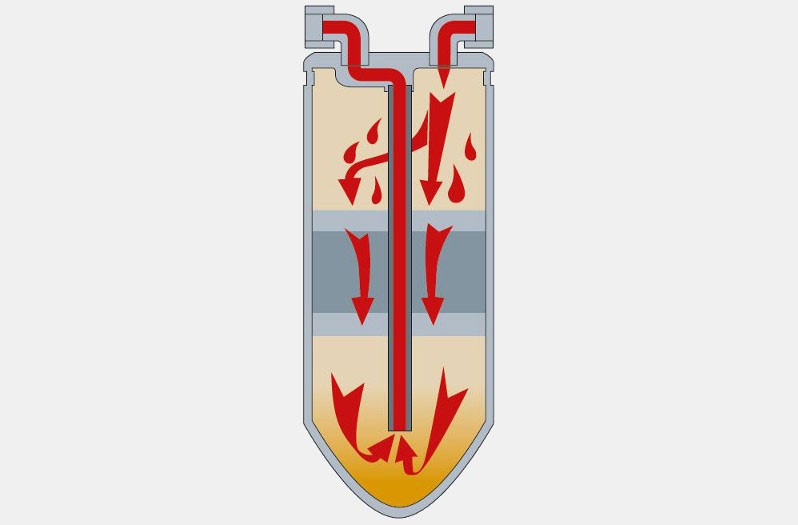
Every time the refrigerant circuit is opened, the dryer must be replaced due to its pronounced hygroscopic effect. If the dryer or accumulator is not regularly replaced, the filter cushion may become separated and distribute silicate particles throughout the entire system, which can cause severe damage.
The connections of the system should never remain open for an extended period and instead be immediately closed, or sealed off, with caps or plugs. Not doing so will introduce the humidity of the air into the system.
In order to avoid damage to connection pipes and/or components, always use two wrenches when loosening and fastening the connections.
When routing hoses and cables, take steps to avoid causing damage by contacting vehicle edges and other moving components.
When replacing a component of the air-conditioning system, the correct oil quantity in the system is to be ensured. Oil must be refilled or drained as needed.
Before refilling the system, the system must be checked to ensure that it is leak-tight . The system must then be sufficiently evacuated (approx. 30 minutes) to ensure that all humidity is removed.
After filling using the quantity of refrigerant specified by the vehicle manufacturer, check the system to ensure that it operates as intended and is leak-tight (electronic leak indicator). At the same time, the high-pressure and low-pressure values must be monitored using pressure manometers and compared against the prescribed values. Compare the outlet temperature at the centre nozzle with the values defined by the manufacturer.
After the service connections are fitted with protective caps, affix a service label sticker on the front crossrail to verify that the maintenance work has been carried out.
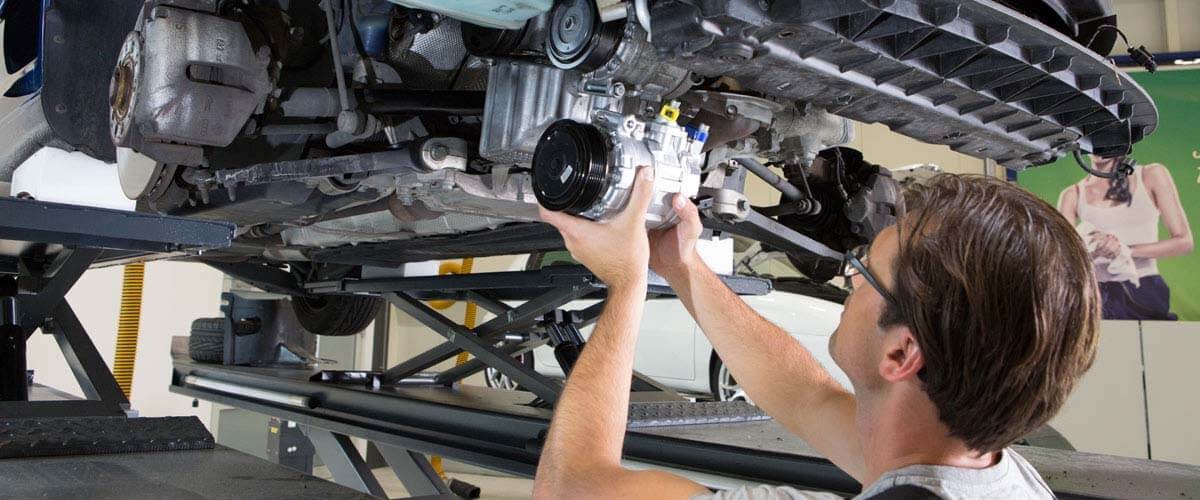
Ensure that all contamination and foreign material has been removed from the refrigerant circuit. To this end, flush the system before installing the new compressor. Refrigerant R134a or a special flushing solution is suitable for flushing, depending on the contamination level. Compressors, dryers (accumulators), expansion valves, and throttle valves cannot be flushed. Since system contamination (abrasion, chips) must always be assumed in the case of a compressor defect and cannot be ruled out, it is absolutely essential that the system be flushed when replacing this component. Ensure that no residual flushing solution remains in the system. Dry the refrigerant circuit using nitrogen if necessary.
Replace the filter dryer or accumulator and the expansion valve or throttle valve (orifice tube).
As one and the same compressor can potentially be used for different vehicles or systems, the oil filling quantity and viscosity must be checked and/or corrected according to the manufacturer's specifications before installing the compressor. For this purpose, all the oil must be siphoned off and collected. The compressor must then be refilled with the entire oil quantity specified by the vehicle manufacturer (system oil quantity).
To ensure that the oil is distributed equally, the compressor must be turned 10x by hand before installation. When installing the drive belt it must be ensured that it is aligned. Some compressors are designed for so-called "multiple applications". This means that they can be installed in different vehicles. Except the number of grooves on the magnetic clutch, there is 100% agreement with the "used part".
After compressor installation and refilling of the refrigerant circuit, the engine should first be started and operated for several minutes at idling speed.
Further specifications (instruction leaflets, manufacturer's specifications, run-in specifications) are to be observed separately.