Check knock sensor: Function, fault symptoms and testing instructions for the workshop

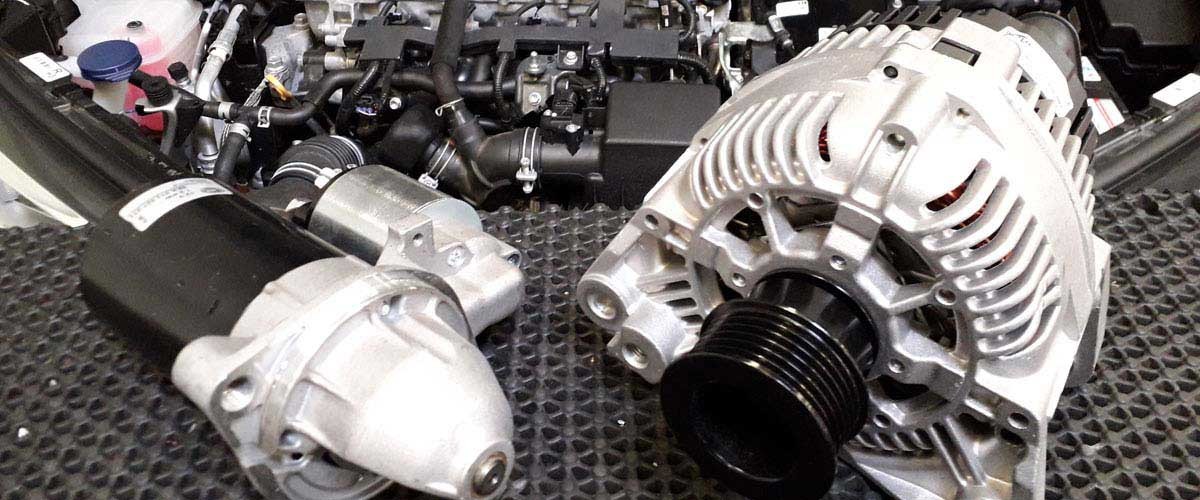
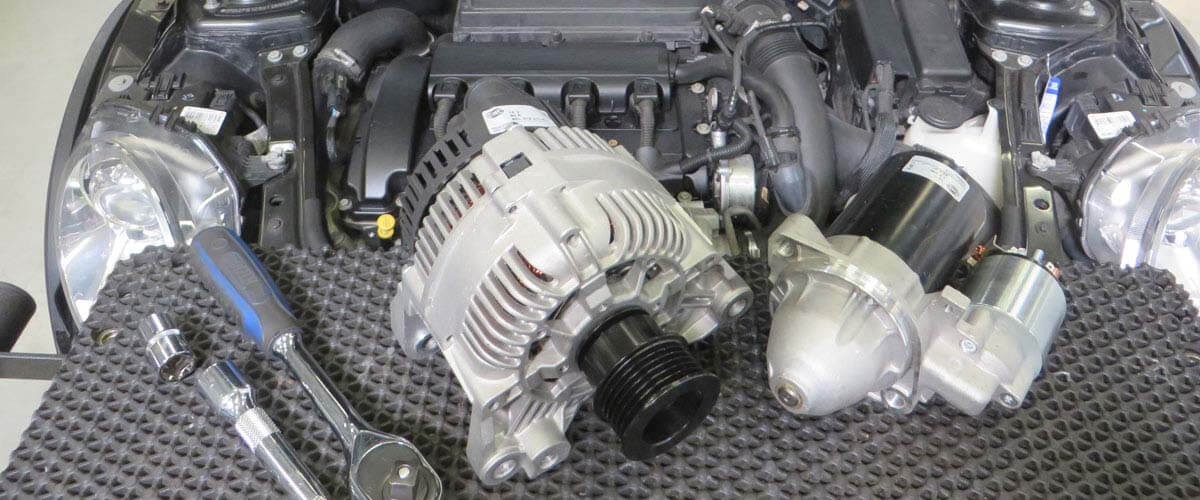
The knock sensor monitors the combustion process in the engine. Its signal helps the engine control to prevent knocking combustion and therefore protect the motor/engine control. On this page we will provide you with various information, including how a defective knock sensor becomes noticeable, the causes that may lead to its failure, and how it can be tested in the workshop.

Important safety note

The following technical information and practical tips have been compiled by HELLA in order to provide professional support to vehicle workshops in their day-to-day work. The information provided on this website is intended for suitably qualified personnel only.

1. Functional principle

Car knock sensor function

The knock sensor is located on the outside of the engine block. It is intended to record knocking noise in all engine operating states in order to prevent engine damage.

The knock sensor "listens out for" the structure-borne vibrations from the engine block and converts these into electrical voltage signals. The signals are filtered and evaluated in the control unit. The knocking signal is assigned to respective cylinder. If knocking occurs, the ignition signal for the respective cylinder is adjusted in the "late" direction until knocking combustion no longer occurs.

2. Symptoms

Knock sensor faulty

A faulty sensor can manifest itself in different ways through fault detection by the control unit and the resulting emergency program strategy.

Frequent fault symptoms are:

  • Engine warning light comes on
  • Error code is stored
  • Reduced engine power
  • Increased fuel consumption
3. Cause of failure

Causes for faulty knock sensors

Failure can be caused by different reasons:

  • Internal short circuits
  • Breaks in wiring
  • Wiring short circuit
  • Mechanical damage
  • Incorrect mounting
  • Corrosion
4. Troubleshooting

Check the knock sensor

TROUBLESHOOTING:

  • Read out the stored fault code ✓
  • Check the sensor for correct fit and tightening torque ✓
  • Check the electrical connections of the sensor wiring, the plug, and the sensor for correct connection, breaks, and corrosion ✓
  • Check the ignition point (older vehicles) ✓

Testing with the multimeter

Check the wiring to the control unit by checking continuity and short circuit to frame for every wire to the control unit plug.

1

Connect the ohmmeter

Connect the ohmmeter between the knock sensor connector and the removed control unit connector. Setpoint: <1 Ohm (circuit diagram required for the pin assignment of the control unit).

2

Check the pin against ground using an ohmmeter

Check the respective pin at the wiring harness connector against ground using an ohmmeter and with the control unit connector removed. Setpoint: at least 30 MOhm.

Attention:

A connection pin can act as shielding and thus have continuity to ground.

Check with the oscilloscope when the engine is warm

1

Connect the test probes of the oscilloscope

Connect the test probes of the oscilloscope between the control unit pin for the knock sensor and ground.

2

Briefly open the throttle valve

The oscillogram must produce a signal with considerably enlarged amplitude.

3

Signal not clear

If the signal is not clear, tap gently against the engine block near the sensor.

4

Knocking is not detected

If the knocking is not detected, this indicates a defective sensor or circuit.

ASSEMBLY INSTRUCTIONS

Observe the tightening torque during assembly. Do not use spring washers or washers.

How helpful is this article for you?

Not helpful at all
5
4
3
2
1
Very helpful
Success

Wrong Captcha

Wrong Captcha

Error

Something went wrong

Spare Parts Finder
Licence Plate Manual vehicle identification OE-No.

Enter the Licence Plate number of your vehicle in the input field. You will find the Licence Plate number in your vehicle registration document.

Top manufacturers
Other manufacturers
Vehicle series Back
Vehicle Back

Enter the OE number in the input field. You will usually find the OE number on the spare part itself or in the vehicle documents.

Spare Parts Finder
Simple vehicle identification with licence plate number Also determine spare parts with OE numbers Detailed product information Find wholesalers near you
dummy
Processing Selected Car
Manufacturer
Vehicle series
Vehicle
Engine output
Engine displacement
Fuel type
Construction year
Engine code

Choose category:
Back
dummy
Teilen Sie
Send via Copy link
URL copied to the clickboard !
Article NUmber
Number
Article Number Was Copied !
Search The Web Mounting Instructions
More Details
Name Value
Less Details

Your Dealer
Autoteile Krammer GmbH
dummy
Lechstraße 1-3
68199 Mannheim
Show Map

You might also be interested in

Accelerator pedal sensor
Basic Knowledge
Accelerator pedal sensor – function & design
Important tips for checking the accelerator pedal sensor and rectifying defects - practical knowledge for your workshop.
Reading Time: 3 minutes
Injection nozzle/injection valve
Basic Knowledge
Injection nozzle/injection valve – Function & checks
Find out how to diagnose a defective fuel injector and replace it in the workshop.
Reading Time: 6 minutes
Throttle valve switch
Basic Knowledge
Throttle valve switch – function & troubleshooting
Everything you need to know to diagnose and repair the throttle valve switch - helpful workshop tips.
Reading Time: 2 minutes
nitrogen oxide sensor nox sensor
Basic Knowledge
NOx sensor - troubleshooting and repair instructions
Everything about the NOx sensor: how it works, typical causes of failure, symptoms and fault diagnosis with the control unit.
Reading Time: 8 minutes
Starter damage assessment
Basic Knowledge
Starter damage assessment
Starter faulty? Spot typical causes such as overloading or misfiring and find out how to repair damage effectively.
Reading Time: 1 minute
Starter damage assessment
Basic Knowledge
Alternator damage assessment
How to diagnose damage to the alternator: ranging from corrosion and short circuits right up to bearing damage.
Reading Time: 1 minute
Basic Knowledge
E-mobility in everyday workshop activities: technology and requirements
Electromobility is changing workshop processes: find out how workshops handle high-voltage systems, new diagnostics procedures and targeted qualifications
Reading Time: 16 minutes
exhaust gas recirculation
Basic Knowledge
Exhaust gas recirculation – EGR valve
Everything about the exhaust gas recirculation system: causes of defective EGR valves, their inspection and replacement - knowledge for the vehicle workshop.
Reading Time: 12 minutes
abs esp control units for braking and driving dynamics
Basic Knowledge
ABS and ESP control units
Important basics and diagnostic information for ABS and ESP control units - everything your workshop needs for repairs.
Reading Time: 4 minutes
Activated carbon container
Basic Knowledge
Activated charcoal canister – facts & info
Everything about the activated charcoal container: how it works, typical fault symptoms and causes in the event of a fault - including workshop tips.
Reading Time: 2 minutes

Quick question

How likely are you to recommend our company to others?

highly unlikely
very likely
highly unlikely
very likely

Thank you very much!

Your feedback helps us to further develop our services.