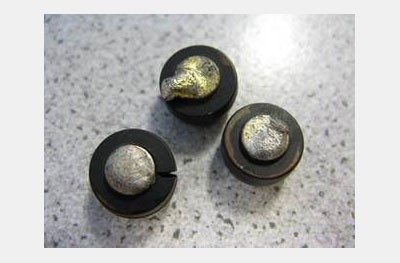
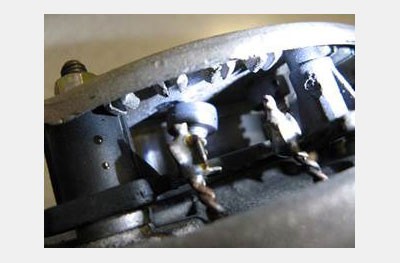
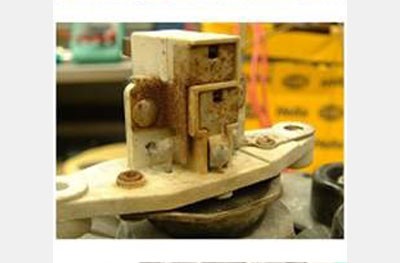
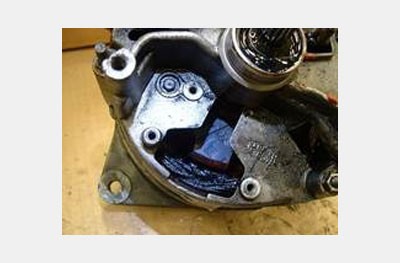
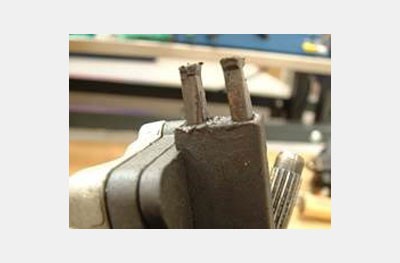
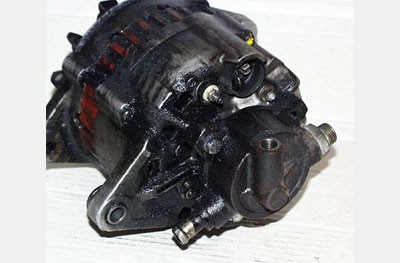
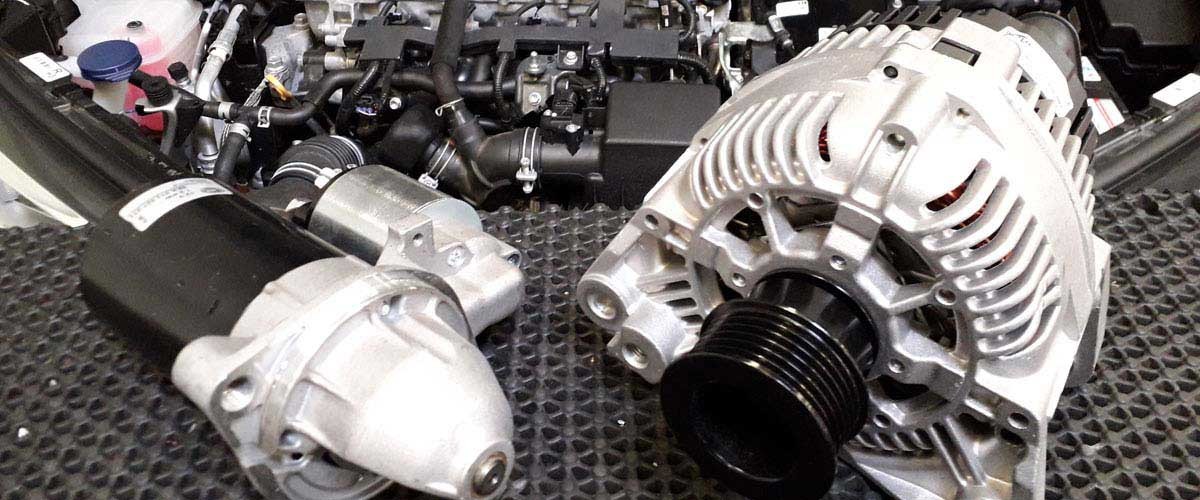
If the alternator output is severely restricted or fails completely, oil contamination visible on the outside can be a clear indication of the cause. There are often traces of oil on the housing or on the electrical connections.
Cause:
Engine oil, hydraulic oil or diesel fuel can penetrate the alternator via leaking seals or damaged cables. Common causes are leaking valve cover seals, defective oil lines or leaks in the area of adjacent units. The oil usually creeps into the housing, where it spreads unnoticed.
Effects:
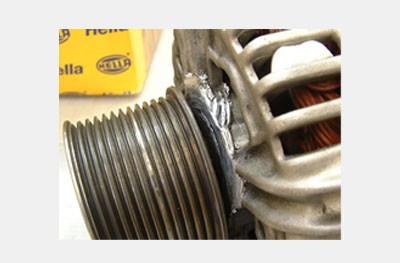
once the oil has entered, it forms a lubricating film on the windings, slip rings and carbon brushes. This can soften the carbon brushes; then a conductive mass forms with the abrasion debris of the carbon brushes, which can lead to contact faults, short circuits or increased wear. In many cases, this results in a complete failure of the alternator. If the oil penetrates into the electronics, it can also attack soldered connections and lead to detachment of or damage to conductor tracks.
Practical tip:
if there are traces of oil on the alternator, the cause should be determined and rectified immediately in order to avoid subsequent damage. Such problems include, in particular, leaks in adjacent units or in oil-carrying lines. When repairs are being carried out in the vicinity of the alternator, we also recommend a visual inspection to check for the onset of any oil leaks. During repairs in the vicinity of the alternator, this component is also to be protected from leaking oil by making use of suitable covers.
Notes on cleaning:
when cleaning a dirty alternator, do not use any flammable or solvent-based cleaning agents. There is a risk of fire on account of possible sparking. Only non-flammable cleaners suitable for use in the field of electrical engineering should be selected. Cleaning should ideally take place when components are in the dismantled state.