Faróis Matrix LED do Audi A6: Reparo e ajuste após a troca

LED headlamps or the control units have to process a multitude of data from different in-vehicle sources in order to calculate and realise the individual light functions. Here you will find important information to consider when replacing the headlamp and components.

Important safety note

The following technical information and practical tips have been compiled by HELLA in order to provide professional support to vehicle workshops in their day-to-day work. The information provided on this website is intended for suitably qualified personnel only.

1. Design

Matrix LED headlights of an Audi A6

Whether it's technical progress, the expansion of e-mobility or increased demands on vehicle design: The importance of vehicle lighting continues to grow. It has long since ceased to be "just" about good lighting performance. Technologies that combine technical innovation with high energy efficiency and an advanced, individual design are in demand. HELLA provides an impressive example of what is possible in this field with the Audi A6 Matrix LED main headlamp, which represents another milestone in technology and lighting design. The Matrix LED main headlamp "merges" with the vehicle in purely visual terms - and is also technically fully integrated into the vehicle electronics.

In interaction with the front camera system, the Matrix LED can realise a dynamic light distribution in real time. The intelligent control of the individual LEDs not only ensures optimum, targeted illumination of the road and other objects, but also contributes significantly to greater safety in road traffic - dazzling other road users is now a thing of the past, even when the main beam is permanently switched on.

2. Function

Light functions of an Audi A6 Matrix LED headlight

The "heart" of the Matrix LED headlamp is the lighting technology used, which enables intelligent control of the light diodes. All lighting functions can be realised through these. Two fans integrated into the headlamp, together with the sophisticated thermal management system, prevent the electrics from overheating. The individual light functions are controlled by the light control units (LCU) installed on the headlamp housing. As with the Audi A8 Matrix headlights , the light is distributed via projection modules or reflectors.

Communication between the lighting control units and the other control units in the vehicle takes place via the vehicle's data bus. In this way, coordination between the Matrix LED headlights and the vehicle's assistance systems takes place within milliseconds. The light distribution is adapted to the respective driving and surrounding situation via programmed switching algorithms.

In addition to classic light functions such as low beam and high beam, the Matrix LED headlamp has additional comfort functions - in detail, these are all-weather light, motorway light, cornering light, and "tourist light" (when driving in left-hand traffic with left-hand drive). Daytime running light and indicator light are realised via light guide technology. Also available are optional light functions such as coming home / leaving home.

High-beam assistant

The camera's control unit includes image processing software. In this way, the current traffic and ambient conditions are determined, analysed and processed for the high beam assistant. This then generates the glare-free main beam (also: Continuous high beam or masked high beam).

For example, if the system detects tail lights of vehicles ahead or headlights of oncoming vehicles, the power module of the Matrix LED headlight automatically dims or switches off the corresponding light segments or the corresponding LEDs.

The result: The best possible road illumination and maximisation of the duty cycle of the high beam when driving at night.

Important

The following conditions must be fulfilled in order to use the Matrix Beam high beam assistant and to control the individual LED segments:

  • Light switch to "AUTO".
  • in the MMI, the menu item must be set to "on".
  • the light sensor must evaluate "darkness".
  • the driving speed must be in the correct range.

The Matrix LED headlamp or the control units have to process a multitude of data from different in-vehicle sources in order to calculate and realise the individual light functions.

Further in-vehicle communication with additional BUS participants takes place by networking the luminaire control units with the on-board power supply control unit and the control unit for driver assistance systems

  • On-board power supply control unit - control of the exterior lighting on the vehicle: The activated light switch position is communicated via LIN bus.
  • Control unit for assistance systems - for the matrix functions: Calculates which headlight segments are dimmed or switched on and off using the data from the image processing software of the front camera control unit.
  • Power module-1: Daytime running light, position light, indicator
  • Power module-2: Low beam, high beam
  • Power Module-3: Matrix functions
3. Control units

Defect of an Audi A6 Matrix LED headlight

A functional failure of the LED headlights can lead to the following effects:

  • Error lamp lights up (system-dependent)
  • Fault entry in the respective headlamp control unit

The following causes can be considered for the failure or malfunction:

  • Power supply faulty
  • External damage; accident
  • Vehicle system, CAN bus values implausible
  • Failure of the headlight electronics
  • Defective control unit
  • Defective headlight fan

The following system limitations and system errors are possible causes:

  • Light sensor is defective or incorrectly mounted
  • Headlights are set to (tourist mode left/right traffic) = reduced headlight range
  • Windscreen dirty or worn
  • System or connected systems faulty
4. Causes of failure

Testing a Matrix LED headlamp using the example of an Audi A6 Avant model year 2015

If the main headlight needs to be replaced, special work steps are required for diagnosis and repair. The following information refers to an Audi A6 Avant model year 2015 as an example, but applies analogously to other vehicle models with identical headlight systems.

The Matrix LED headlamp and the other vehicle lighting are monitored by higher-level control units in the vehicle system. Any faults that occur are stored in the fault memory of the control unit and can be read out with suitable diagnostic equipment. On some vehicle models, the driver is informed of a system fault by an additional warning in the instrument cluster display.

Before fault diagnosis with the diagnostic device, a visual inspection of the individual system components should first be carried out, as some faults can already be detected and rectified in this way.

1

Error code

With this function, the error codes stored in the error memory can be read out and deleted.

In addition, information on the error code can be called up. In the case example, the electrical plug connection on the headlamp was disconnected, resulting in a fault code being stored in the fault memory.

Error code: 5545009/ B149C31

LED headlight module left

> electrical fault or interruption

2

Parameters

With this function, current measured values such as the "Horizontal angle reference segment headlamp" can be selected and displayed on the left or right.

3

Actuator test

With this function, the various segments of the Matrix LED headlamp can be controlled by the diagnostic device. Thus, a functional check of the periphery as well as the corresponding system component can be carried out without much disassembly effort.

5. Instructions

Matrix LED headlight readjustment

Basic adjustment of the headlights

After carrying out the following repair work, the Matrix LED headlamp must subsequently be readjusted. This is the only way to ensure safe operation of the headlamp.

  • Headlight has been removed or replaced
  • Repair during which a headlamp was removed and installed
  • Repairs or adjustments that have an influence on the chassis height
  • after replacing the following components: Vehicle level sensor, on-board power supply control unit, servomotor height adjustment, matrix LED high beam control unit or power module for matrix LED headlights

Before readjusting the headlamp, the following conditions must first be met on the vehicle:

the vehicle and the headlamp leveller are on a level surface

  • the handbrake is released and the vehicle is secured against rolling away
  • the tyre pressure is OK
  • the headlamp covers are clean and free of damage
  • the steering wheel is in the "straight-ahead" position
  • the correct vehicle level is guaranteed. Vehicles that were previously raised must be sprung to the normal chassis level.
  • the vehicle load has been checked and, if necessary, adjusted to the load specified by the manufacturer
  • the battery voltage is greater than 11.0 volts
  • there are no error entries in the system-relevant comfort control units.

In order to adjust the headlights, a diagnostic device is required in addition to a headlight adjustment device. The adjustment process is started by the diagnostic device and carried out according to predefined work sequences. If the vehicle is equipped with level control, the chassis is driven to normal level and the control is deactivated before the adjustment. After a successful adjustment, the control is activated again.

Adjusting the Matrix LED headlamp workflow

  • Align headlamp aimer (SEG) centrally in front of the vehicle
    Move the SEG to the corresponding spotlight and align it centrally to the reflector segment.
    Set the inclination dimension on the SEG according to the country specificationThe inclination measurement is stamped on the upper edge of the headlamp as a percentage for ECE countries
    For the USA, the slope measure of 0.7 % generally applies

    Connecting the diagnostic device
    Select the basic setting "Set LED matrix headlights
    Switch on the ignition
    Switching on the low beam on the vehicle
    Activate basic setting in the diagnostic tester and follow the instructions for action
    Check dipped beam setting, correct mechanically if necessary.

After the correction or adjustment, the new headlight setting can be saved.

If necessary, a calibration of the Matrix LED High Beam function should be carried out.

To do this, activate the calibration in the diagnostic tester and carry out the following steps:

  • Switch on position light
    Reference segments in the headlights are activated
    Align headlamp leveller centrally with LED reference segment high beam.
    Determine the horizontal angle value alternately on the respective headlamp by means of the headlamp setting device and enter and store it in the diagnosis device.

After a successful calibration, the new control position is stored in the control unit. The basic setting of the headlights is then completed.

Service and Repair Instructions

Vehicles with Adaptive Cruise Control (ACC), Night Vision System or Perimeter Camera

Important: If the bumper is removed and reinstalled as part of the repair or changes are made to the radiator grille, a recalibration of the camera for the night vision system, an adjustment of the distance control or a recalibration of the surroundings camera is absolutely necessary!

In this context, please observe the repair instructions and safety instructions of the respective system or vehicle manufacturer!

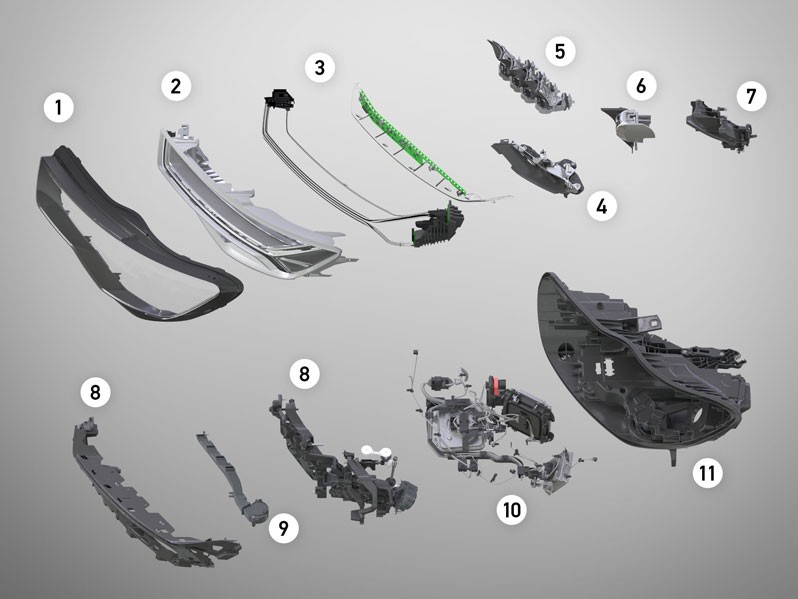
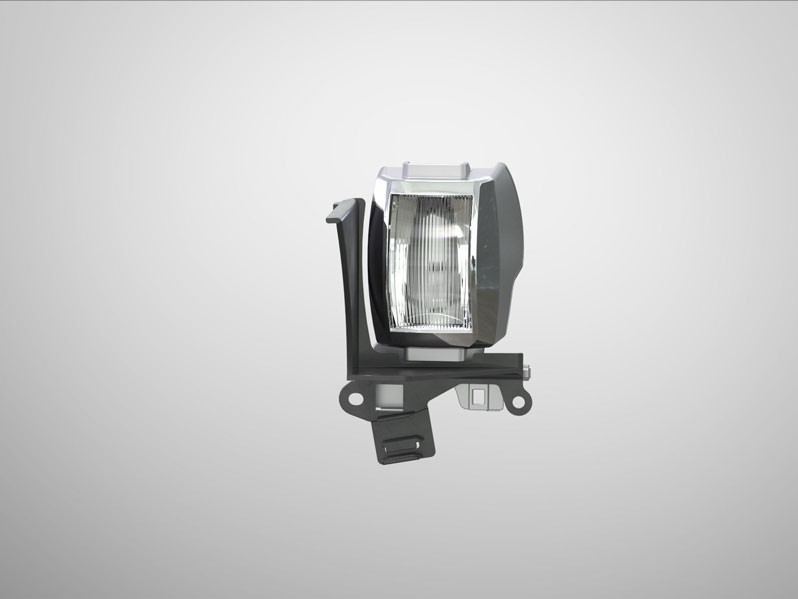
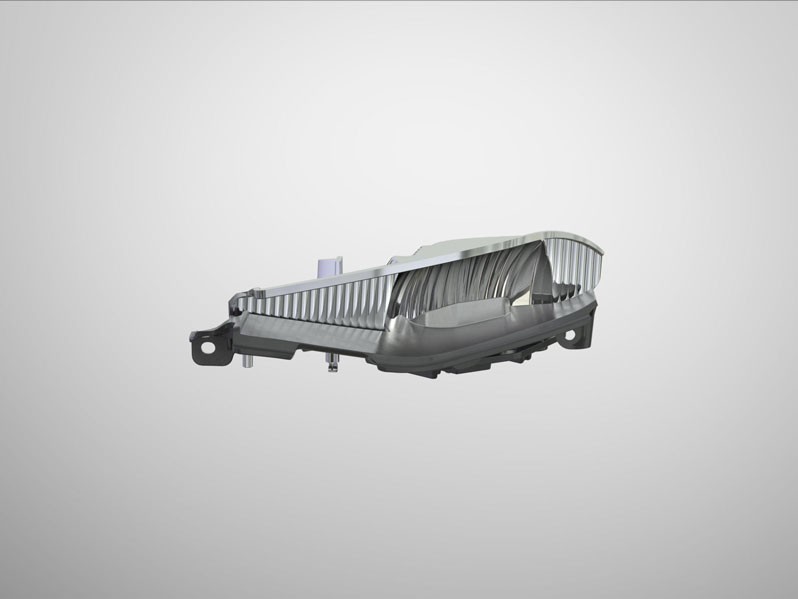
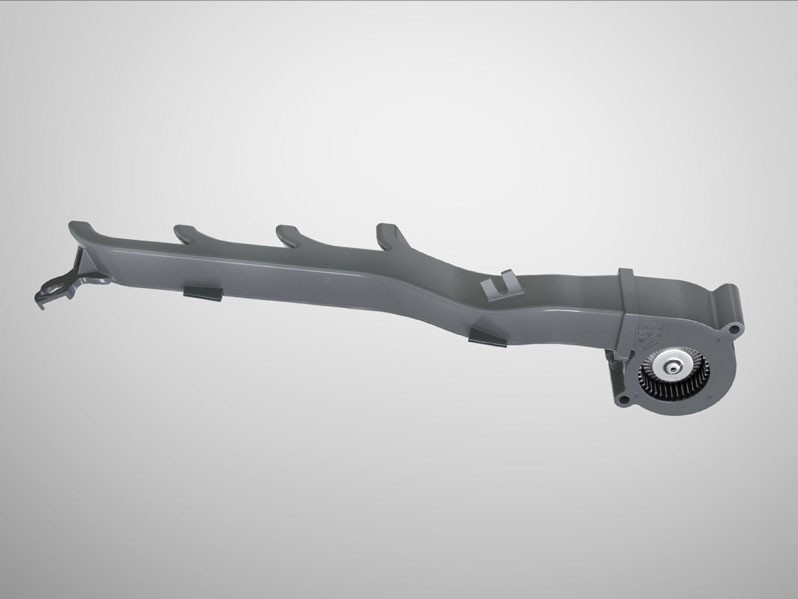
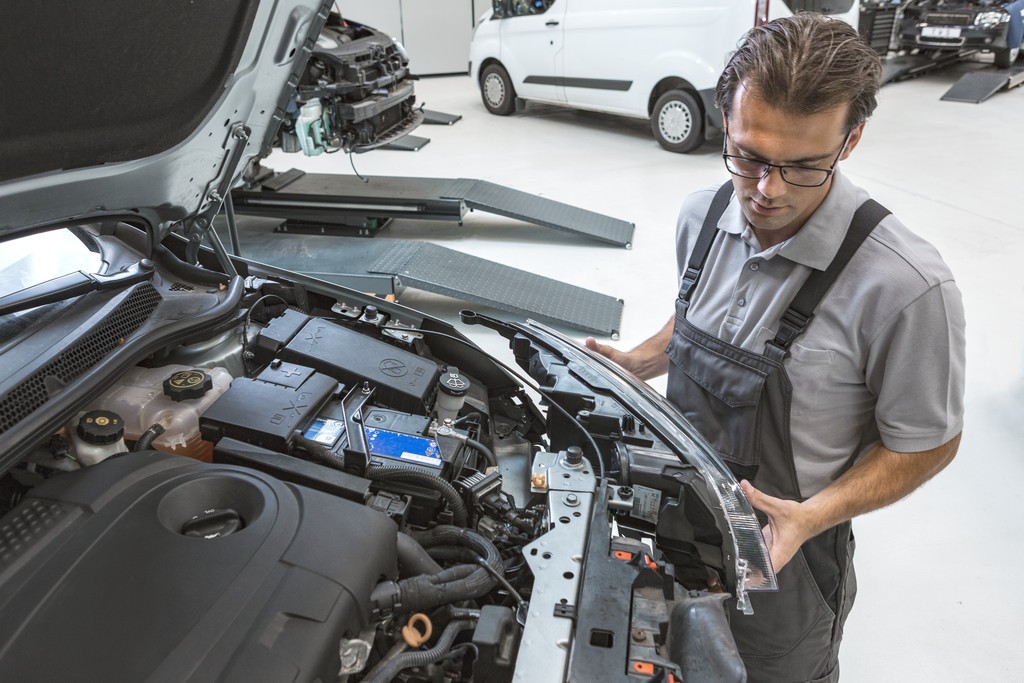
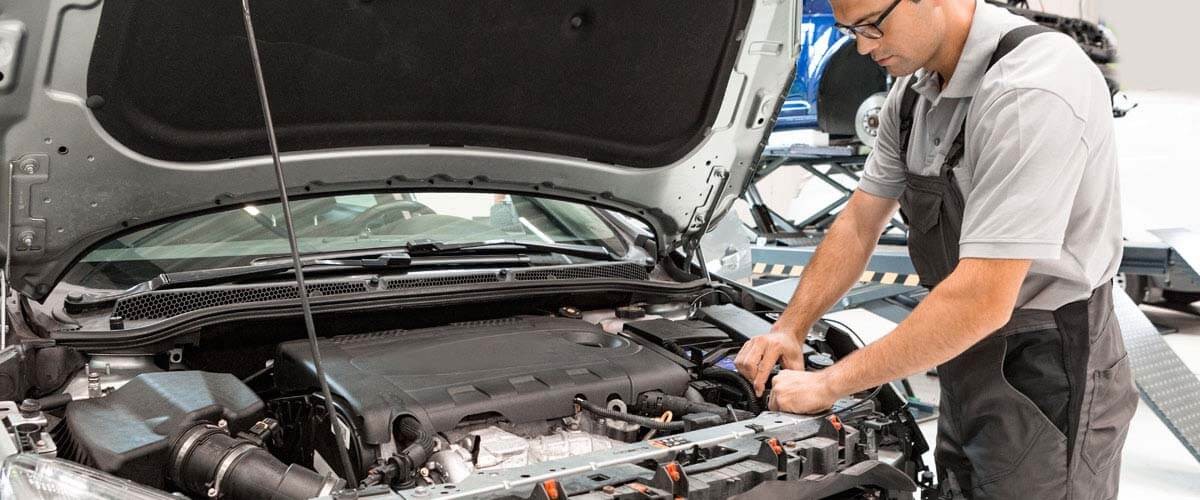
When replacing electronic components in the headlamp, ensure the greatest possible cleanliness.

In addition, the measures for protection against electrostatic discharge (ESD) must be observed.

Repair work on the lighting system in the motor vehicle may only be carried out by trained specialist personnel. Improperly carried out repairs can lead to system failure and, in the worst case, personal injury.

Important!

The various diagnostic options were illustrated using the mega macs 77 diagnostic device from Hella Gutmann Solutions as an example. The respective test depth and variety of functions can be designed differently depending on the vehicle manufacturer and are dependent on the respective system configuration of the control unit.

Schematic illustrations, pictures and descriptions serve to explain and illustrate the document text and cannot be used as a basis for vehicle-specific repairs.

6. Video

Replacement of a full LED headlamp using the example of an Audi A6/S6

Até que ponto este artigo é útil para si?

Não ajuda em nada
5
4
3
2
1
Muito útil
Sucesso

Wrong Captcha

Wrong Captcha

Erro

Algo correu mal

Localizador de peças sobressalentes
Número da matrícula Identificação manual do veículo OE-no.

Insira o número da matrícula do seu veículo no campo de entrada. Encontrará o número da matrícula no documento de registo do veículo.

Erro

Infelizmente, o seu veículo não foi encontrado. Certifique-se de que os dados introduzidos estão corretos ou tente novamente.

Principais fabricantes
Outros fabricantes
Série de veículos Voltar
Veículo Voltar

Insira o número OE no campo de entrada. Normalmente, encontrará o número OE na própria peça sobressalente ou nos documentos do veículo.

Localizador de peças sobressalentes
Identificação simples do veículo com matrícula Determine também as peças sobressalentes com números OE Informações detalhadas sobre o produto Encontre grossistas perto de si
dummy
Processing Selected Car

Escolher categoria:
Voltar
dummy
Partilhar
Enviar por Copiar link
URL copiado para o clipboard!
Número do item
Number
O número foi copiado para a sua área de transferência!
Pesquisar na web Instruções de montagem
Mais detalhes
Nome do produto Valor
Menos detalhes

O seu revendedor
Autoteile Krammer GmbH
dummy
Lechstraße 1-3
68199 Mannheim
Mostrar mapa

You might also be interested in

Faróis LED
Conhecimentos básicos
Faróis LED — Modo de funcionamento e regulagem
Tudo sobre faróis LED: como funcionam, ajuste da luz no Audi A8 e dicas úteis para reparação na oficina.
Tempo de leitura: 16 minutos
Luz de curva
Conhecimentos básicos
Luz de curva: funcionamento, sintomas, controlar
Iluminação dinâmica e estática nas curvas: Funcionamento, resolução de problemas e dicas de reparação - incluindo dicas úteis para oficinas.
Tempo de leitura: 2 minutos
Assistente de luz alta
Conhecimentos básicos
Assistente de luz alta — Princípios básicos, funcionamento, ajuste
O assistente de máximos: função, ajuste e como permite uma condução sem encandeamento – ideal para oficinas que prestam aconselhamento a profissionais.
Tempo de leitura: 7 minutos
Sistema de iluminação de faróis AFS
Conhecimentos básicos
Faróis AFS – Advanced Frontlighting System
Descubra como funcionam os faróis AFS e o que precisa de saber sobre o Sistema de Iluminação Frontal Avançada.
Tempo de leitura: 5 minutos
Faróis
Conhecimentos básicos
Faróis — Componentes, tipos, prescrições
Comparação dos quatro sistemas de faróis mais importantes, incluindo regulamentos para iluminação de veículos - conhecimento para a oficina automóvel.
Tempo de leitura: 10 minutos
Iluminação do habitáculo Retrofit
Conhecimentos básicos
Iluminação do habitáculo Retrofit
Retrofit de luzes diurnas: instalação e codificação
Tempo de leitura: 5 minutos
Módulos de comando eletrônicos em veículos modernos com faróis LED
Conhecimentos básicos
Módulos de comando eletrônicos em veículos modernos com faróis LED
Descubra como funcionam as unidades de controlo eletrónico e como são integradas nos veículos modernos com faróis LED.
Tempo de leitura: 10 minutos
Regular e substituir faróis LED
Conhecimentos básicos
Regular e substituir faróis LED
Instruções passo a passo para ajustar e trocar os faróis LED no Mercedes Benz W212 - com vídeo.
Tempo de leitura: 10 minutos
Regular os faróis - Instruções
Conhecimentos básicos
Regular os faróis – Instruções
Um guia geral para o ajuste dos faróis - com vídeo e dicas sobre como otimizar a distribuição da luz na sua oficina.
Tempo de leitura: 15 minutos
Faróis LED da BMW: informações interessantes, avisos de reparação e dicas práticas
Conhecimentos básicos
Faróis LED da BMW: tudo sobre tecnologia e reparação
In-depth BMW LED lamp instructions with tips on adaptive LED technology, repairs & diagnostics – here an overview
Tempo de leitura: 12 minutos

Ótimo! Só mais um passo

Subscrição bem-sucedida

Aceda à sua caixa de entrada e confirme o seu endereço de e-mail para não perder as nossas atualizações!

Aguarde novos vídeos técnicos, conselhos sobre reparação automóvel, formação, dicas úteis de diagnóstico, campanhas de marketing e muito mais... diretamente na sua caixa de entrada, a cada duas semanas!