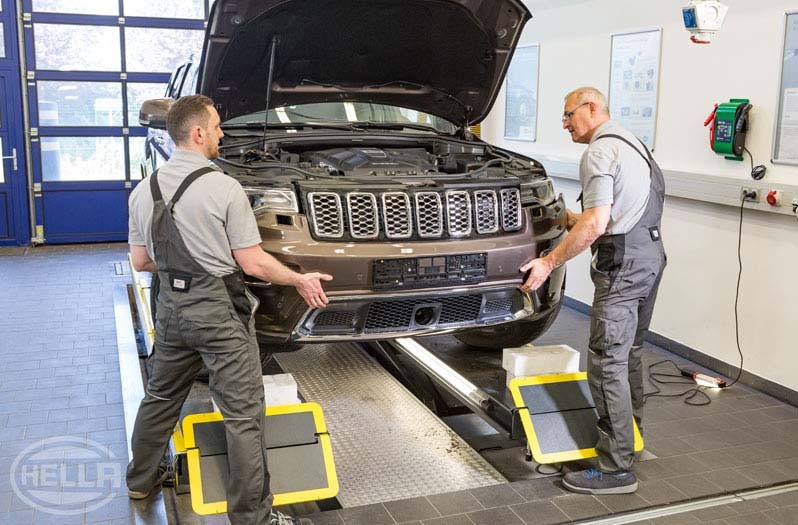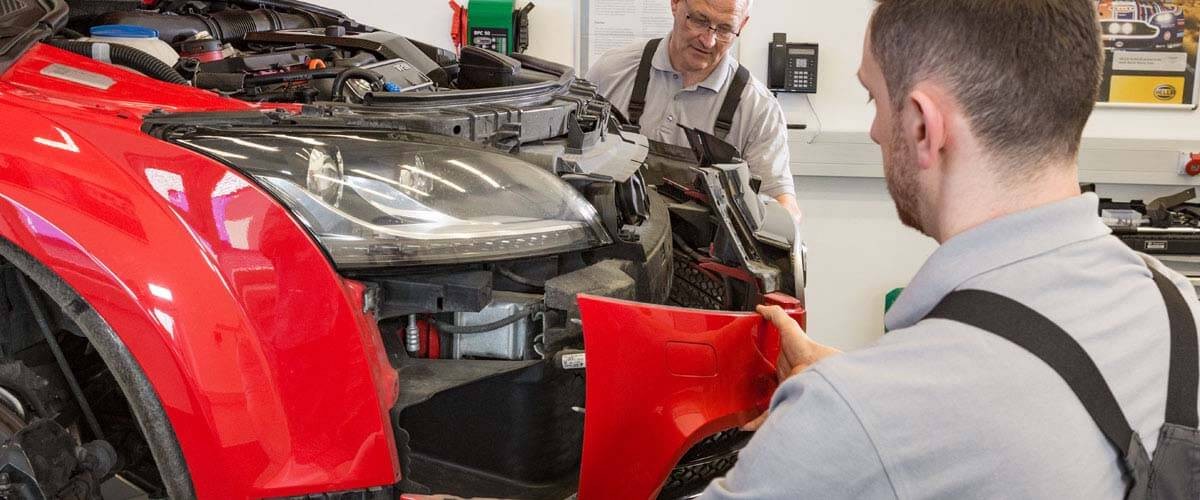


Removing front bumper cover
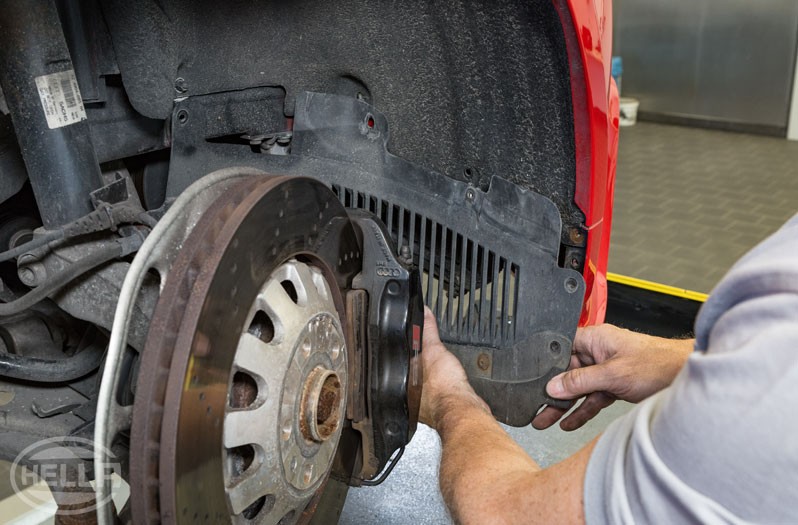
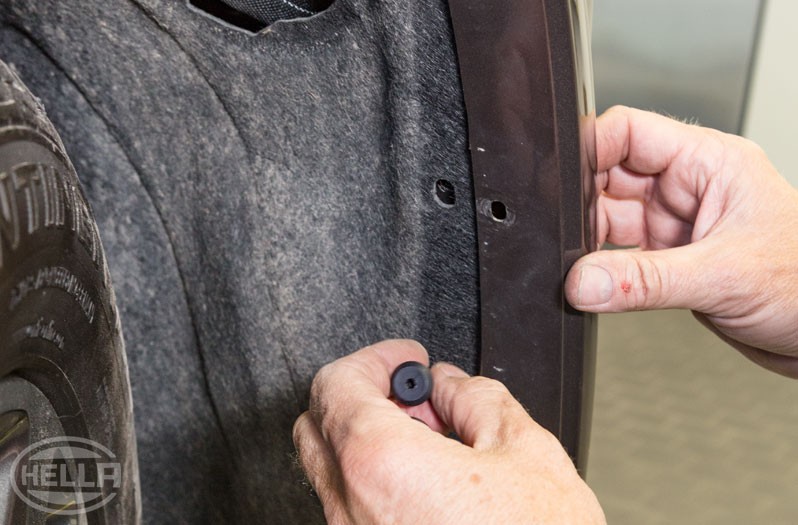
- Unscrew screws of the wheel housing liner at the front, left and right
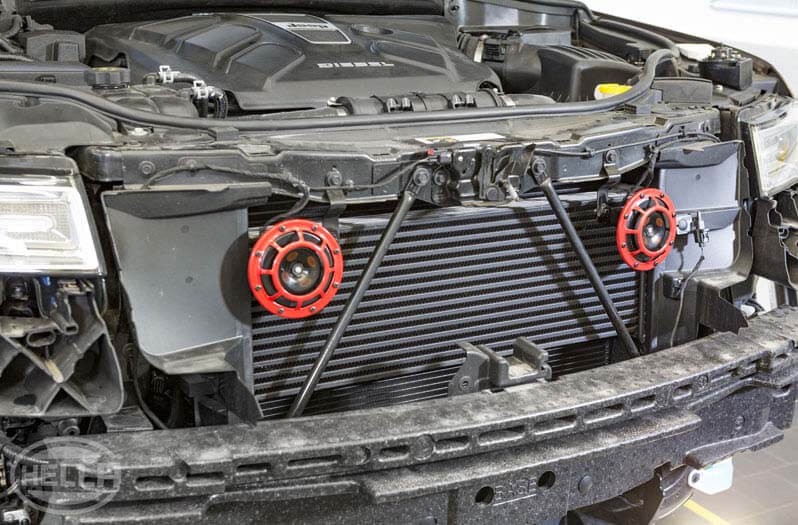
- Remove the lower covering and push back the wheel housing liner
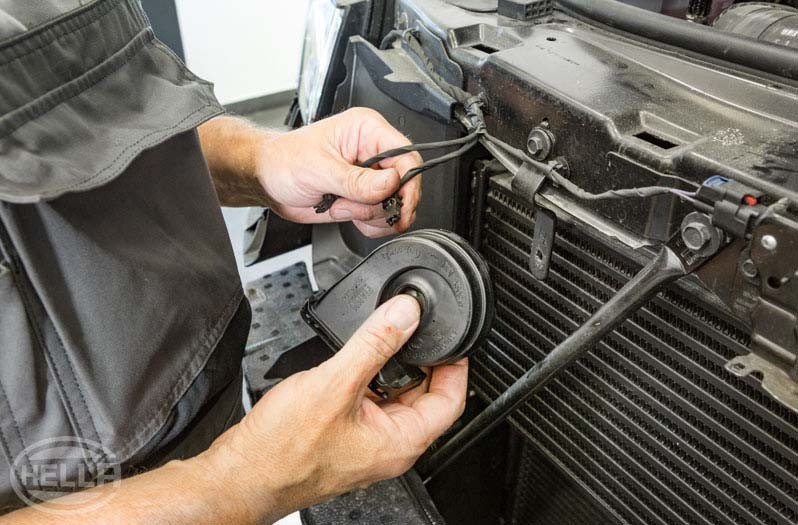
- If necessary, disconnect the washer fluid pipes of the windscreen washer system and close them off
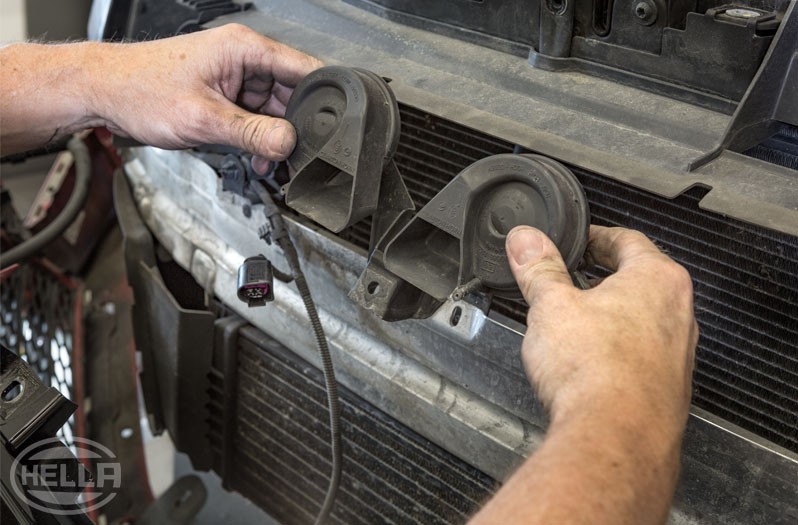
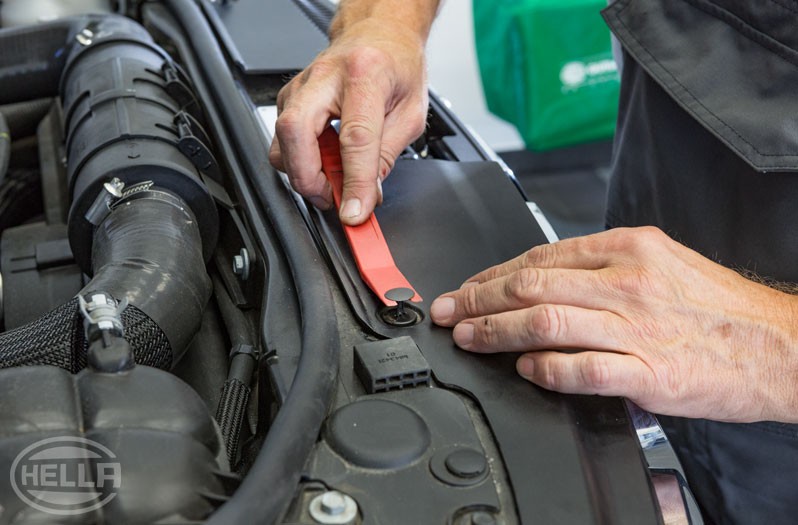
- Unscrew the fastening screws of the bumper cover on the top, bottom and inside
- Carefully remove the bumper cover