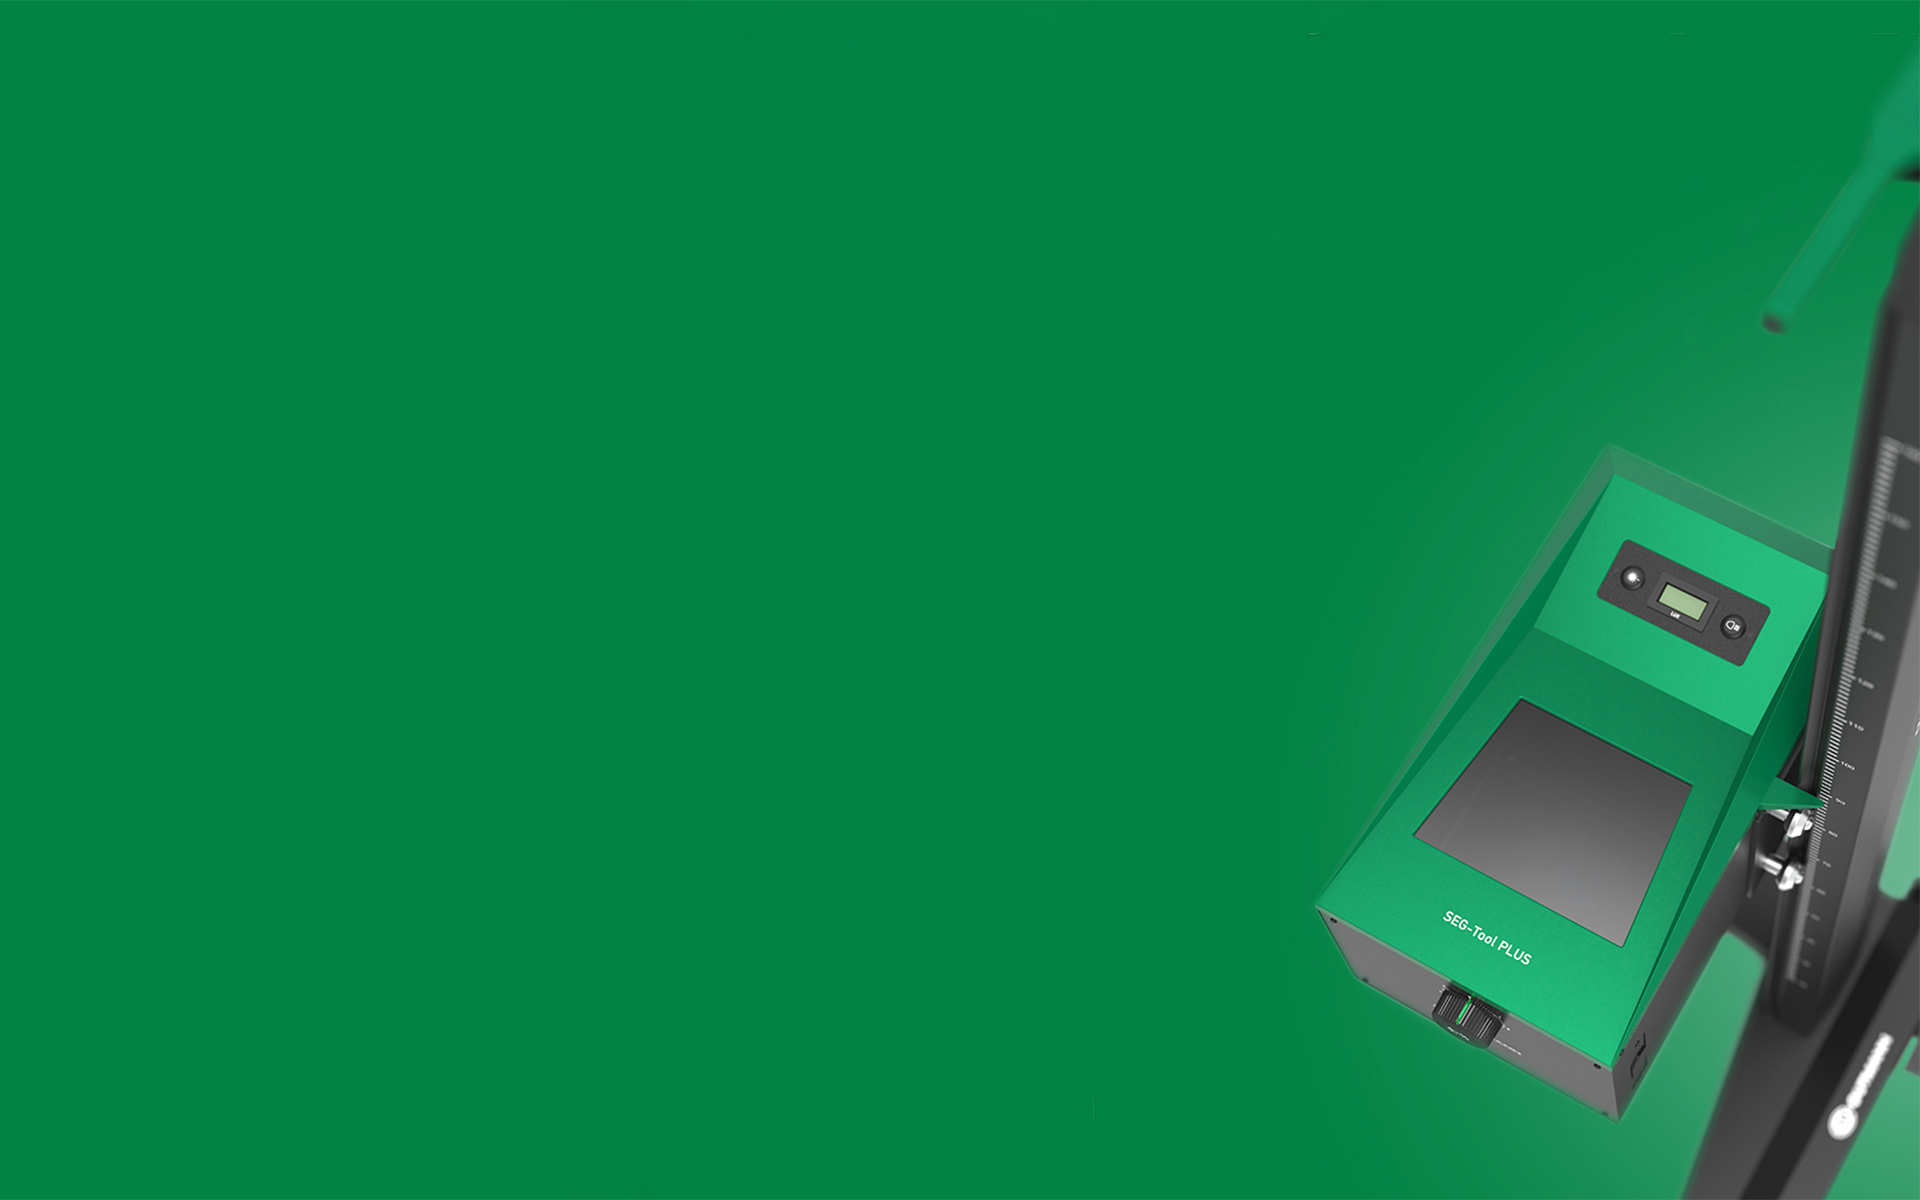
The SEG-Tool PLUS guides you through the headlamp adjustment process using a clear and straightforward step-by-step procedure. First, the device is positioned in front of the vehicle and aligned with the vehicle’s longitudinal axis using the green line laser.
The optics housing can then be easily raised to the correct headlamp height using the counterweight and precisely positioned using the cross-line laser. The light distribution is assessed using a Fresnel lens, a test screen and a digital lux meter. The settings are then adjusted in accordance with the relevant vehicle or manufacturer’s specifications.
Four steps to precise headlamp alignment
Step 1: Position the device
The SEG-Tool PLUS is rolled up to the front of the vehicle and aligned with the vehicle’s longitudinal axis using the green 120° line laser. This creates the right starting point for further adjustments.
Step 2: Aligning the optical box
Thanks to the aluminium column with a counterweight, the headlight housing can be adjusted smoothly and continuously to the correct headlight height. The green cross-line laser helps to position it precisely in front of the relevant headlamp.
Step 3: Assessing light distribution
The light distribution is visualised using a Fresnel lens and a test screen, and can also be assessed using a digital lux meter. This provides the user with a clear basis for the subsequent settings.
Step 4: Adjusting lamps
The adjustment is carried out in accordance with the relevant vehicle or manufacturer’s specifications, based on the visible light distribution. You can then check straight away how the adjustment affects the light distribution.