
Floating calliper guide pins - practical repair tips

The floating-type calliper, also known as a floating calliper, is one of the most frequently used brake callipers in vehicles. A special feature here is that the brake calliper can be moved by means of guide bolts. This type of mounting is also referred to as floating mounting. When the brake is applied, the brake piston presses against the inner brake pad and presses this against the brake disc. The reaction force moves the brake calliper onto the guide bolt and pushes the outer brake pad against the brake disc with the same force.

Important safety note

The following technical information and practical tips have been compiled by HELLA in order to provide professional support to vehicle workshops in their day-to-day work. The information provided on this website is intended for suitably qualified personnel only.

Table of Content
1. Effects

Contaminated, sluggish or seized up guide elements

In order for everything to function perfectly, both freedom and also ease of movement must be guaranteed.

Depending on the type of brake calliper, the guide bolts in the brake calliper carrier can be guided internally and sealed with dust protection sleeves or screwed onto the outside and mounted continuously in damping sleeves.

Contaminated, sluggish or seized up guide elements lead to a limited functioning of the brake calliper and can have the following effects:

  • Increased wear of brake pads/linings and brake discs
  • Uneven lining wear
  • Inadequate or one-sided braking behaviour
  • Increased heating up of material / thermal overload
  • Brake discs discoloured on one side or subject to shrinkage/wearing
  • Increased noise when the brake is not applied
  • Severe, one-sided wheel dirt caused by brake abrasion

In some cases, the wear pattern of the old remove brake linings may already indicate a possible cause.

2. Video

Checking and servicing floating brake calliper guide bolts

Practical repair instructions - guide pins on brake calliper (floating-type)

In this video we show you repair and maintenance of the guide bolts on a floating-type calliper.

3. Instructions

Practical repair instructions - floating brake calliper guide pins

1

Checking guide bolt and dust protection sleeve

The following must be observed during all repair or maintenance work on the floating-type calliper:

  • Check guide bolts for ease of movement, contamination or damage
  • Check dust protection sleeves or damping sleeves for damage.
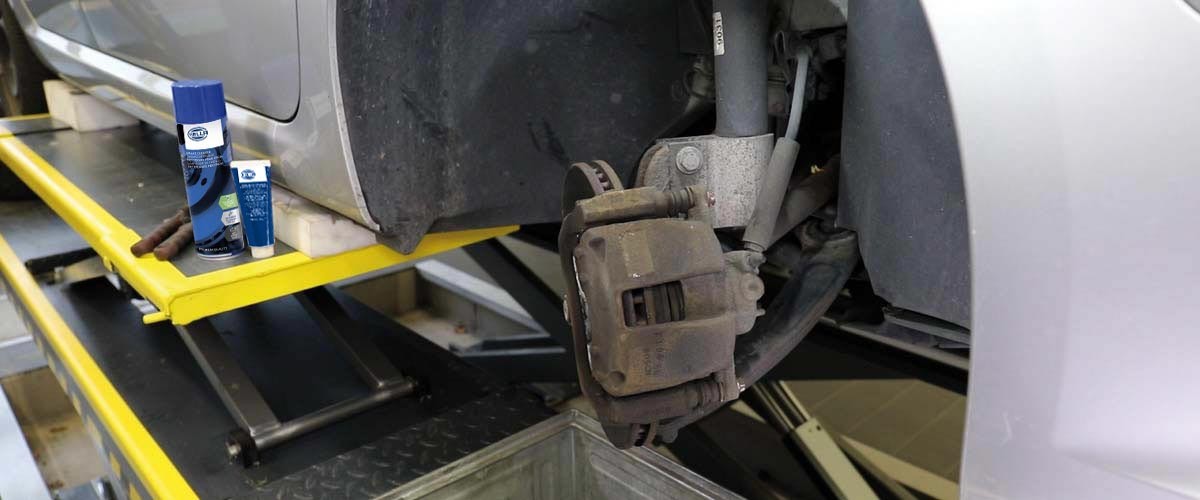
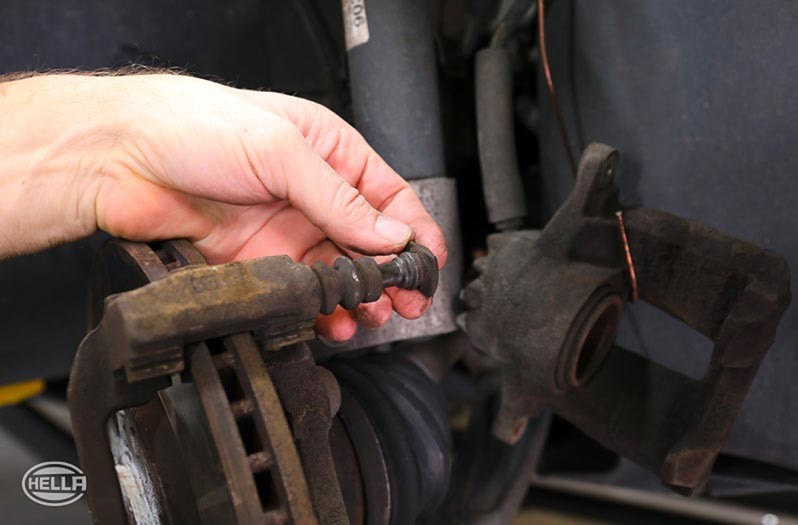
  • It should be possible to easily move the guide bolts back and forth in the brake calliper carrier ( Figure 1 ).
  • Contaminated components should be cleaned before re-use and replaced if necessary

However, damaged components must always be replaced.
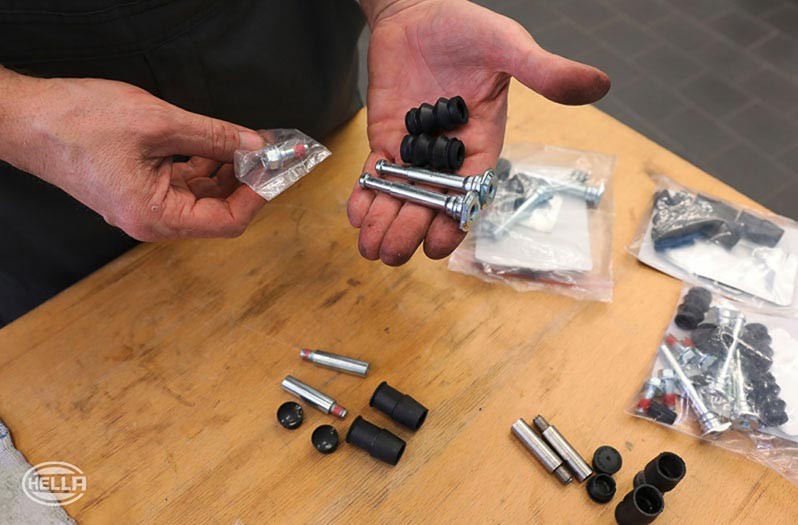
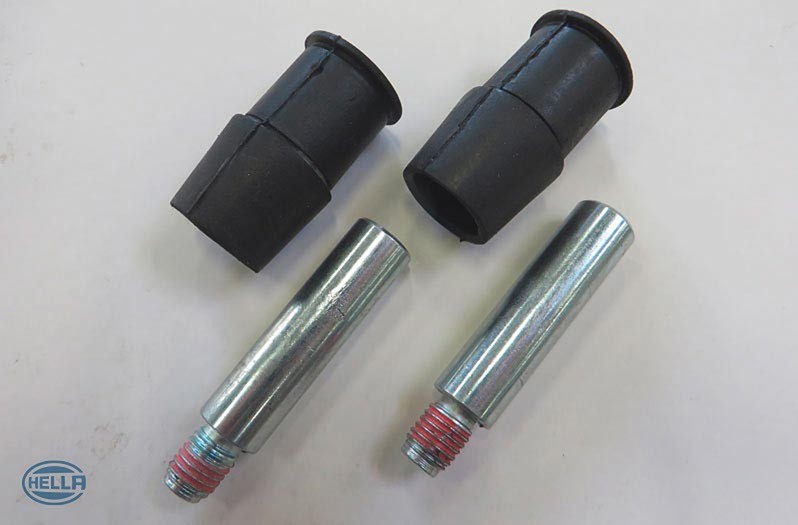
Depending on the vehicle model and brake calliper type, various repair kits are on offer ( Figure 2 ).
2

Apply a thin layer of a suitable lubricant to the sliding surfaces

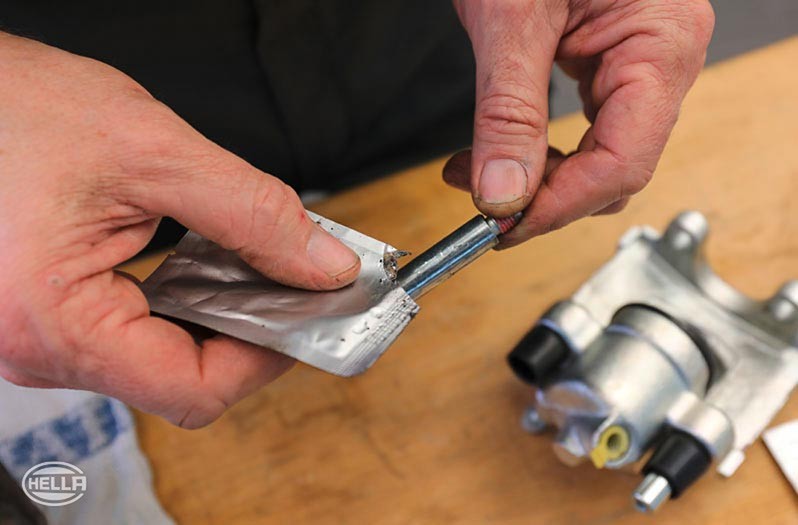
Before inserting the internal guide bolts, the sliding surfaces are to be coated thinly with a suitable silicone-based lubricant ( Figure 3 ).

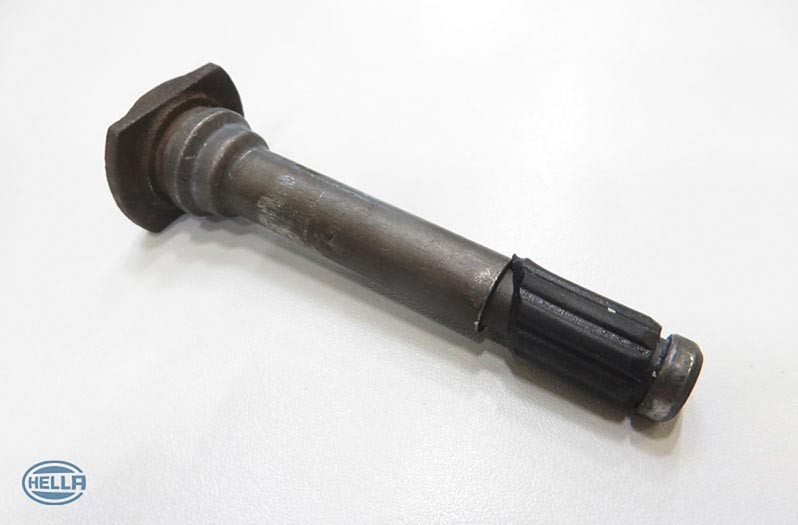
Unsuitable lubricants can lead to swelling of the rubber parts and subsequent faults on the wheel brake ( Figure 4 ).

Before the brake is reassembled, the brake piston and the dust protection sleeve should also be checked for correct functioning and for any damage and replaced if necessary. Improper maintenance or repair work can lead to unpleasant complaints or cost-intensive consequential damage.

Important!

The brake system is a safety system. Repair work on the brake calliper should only be carried out by qualified specialist personnel.
In connection with this information, please also always observe the maintenance and repair instructions of each individual vehicle manufacturer!

Schematic representations, figures and descriptions serve only the purpose of explanation and presentation of the document texts and cannot be used as a basis for carrying out the repair.

Mennyire hasznosnak találod ezt a cikket?

Egyáltalán nem segít
5
4
3
2
1
Nagyon hasznos
Siker

Helytelen Captcha

Helytelen Captcha

Hiba

Something went wrong

Pótalkatrész-kereső
Jármű kézi azonosítása OE-szám
A legjelentősebb gyártók
Egyéb gyártók
Járműsorozatok Vissza
Jármű Vissza

Írja be az OE-számot a beviteli mezőbe. Az OE-számot általában magán a pótalkatrészen vagy a jármű dokumentumaiban találja meg.

Pótalkatrész-kereső
Egyszerű járműazonosítás a KBA-szám alapján Határozza meg az eredeti alkatrészszámmal rendelkező pótalkatrészeket is Részletes termékinformációk Keressen nagykereskedőket a közelében
dummy
Processing Selected Car
Gyártó
Járműsorozatok
Jármű
Motor teljesítménye
Motor hengerűrtartalma
Üzemanyag-típus
Építés éve
Motor kódja

Válasszon kategóriát:
Vissza
dummy
Megosztás
Küldés a következőn keresztül Link másolása
Az URL-cím átmásolva a clickboardra!
Cikkszám
Number
A cikkszám lemásolták!
Keresés az interneten Szerelési útmutató
További részletek
Neve Érték
Kevesebb részlet

A kereskedője
Autoteile Krammer GmbH
dummy
Lechstraße 1-3
68199 Mannheim
Termékprospektus letöltése

Egy gyors kérdés

Great! Just one more Step

Subscription successful

Head to your inbox and confirm your email address so that you don’t miss our updates!

Get ready for brand new technical videos, car repair advice, trainings, helpful diagnostic tips, marketing campaigns and much more... delivered straight to your inbox every two weeks!