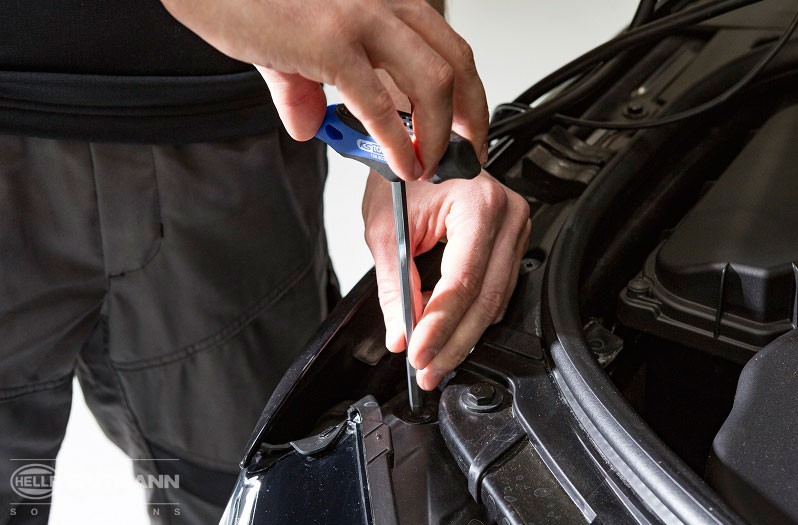
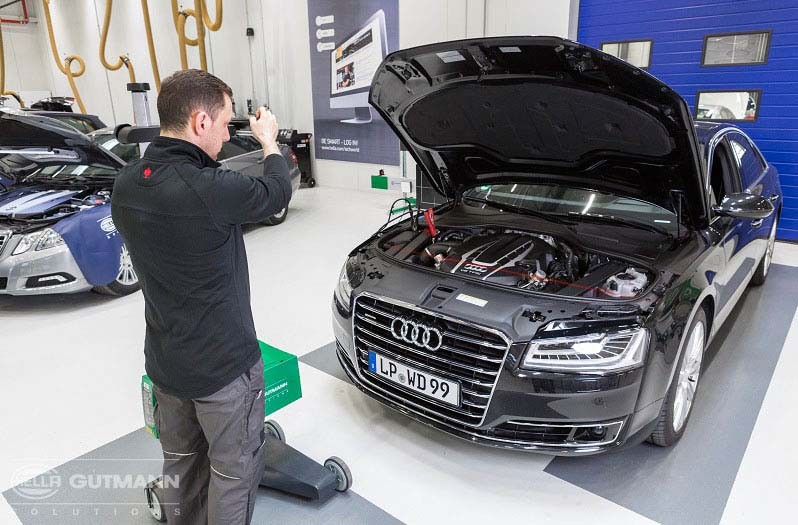
Lamp setting on the Audi A8 4.0i TFSI Quattro

Lamp setting on the Audi A8 4.0i TFSI Quattro

Important safety note

The following technical information and practical tips have been compiled by HELLA in order to provide professional support to vehicle workshops in their day-to-day work. The information provided on this website is intended for suitably qualified personnel only.

Step-by-step instructions

1

Vehicle and work preparation

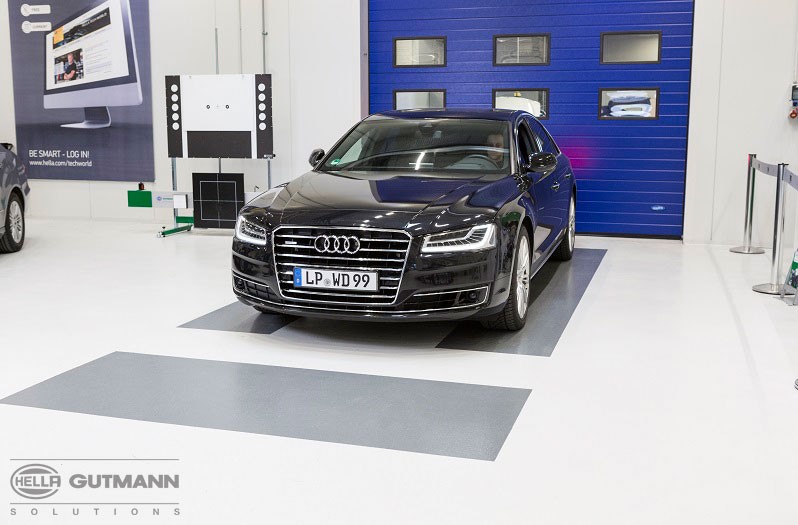
The Audi A8 is first parked on the prescribed lamp setting station and then prepared.

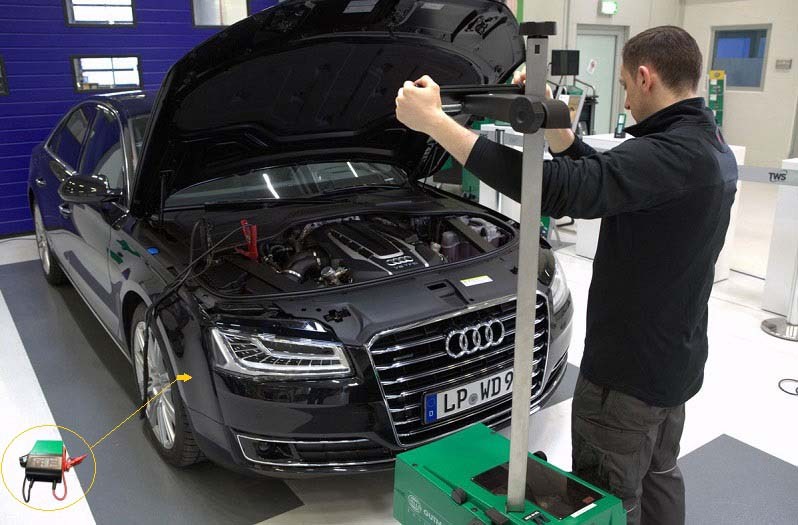
Such preparation entails the vehicle being visually inspected and a battery charger connected.
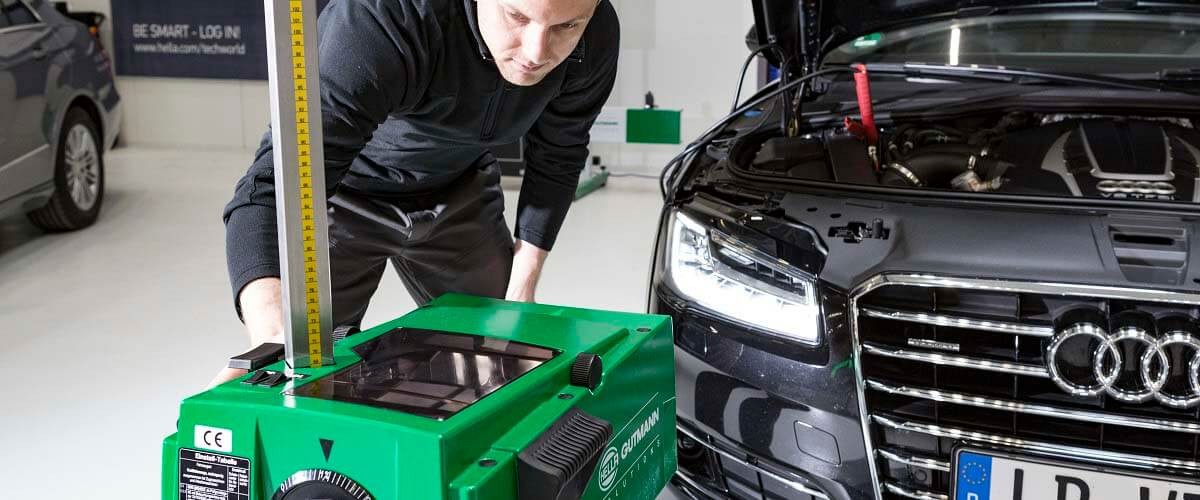
2

Aligning of the SEG

The SEG with laser assistance is then aligned to the vehicle.

3

Positioning of the SEG

The next step is to position the SEG in line with the lamp. Information on SEG IV: Positioning is assisted by aiming the laser pointer at the light source.
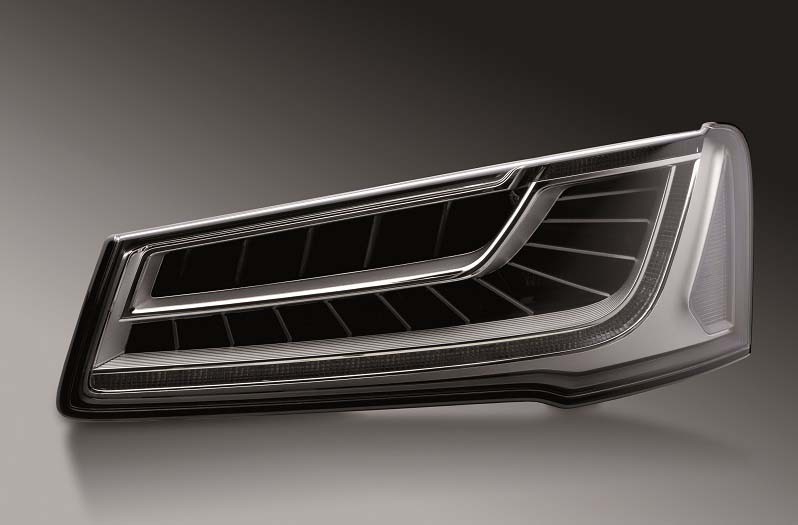
4

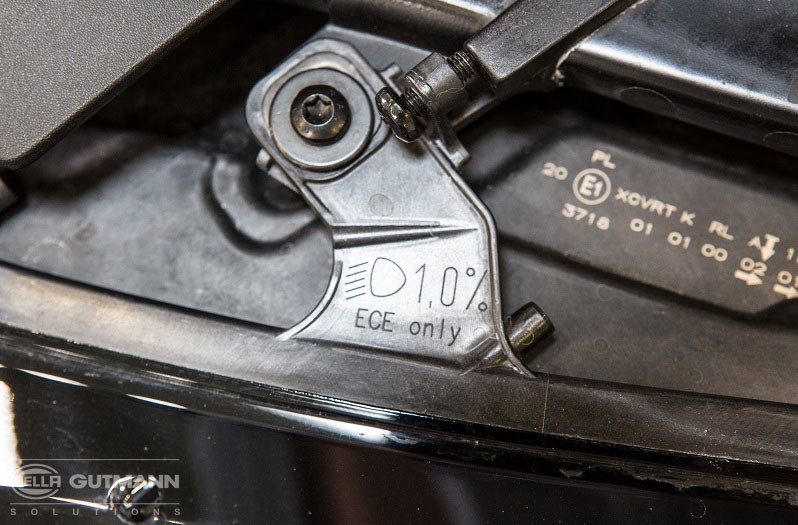
Reading and setting the forward inclination

The required forward inclination setting is read off the headlamp on the Audi A8 and set accordingly on the rotary control knob on the SEG IV. he forward inclination is set on the digital SEG V when selecting the vehicle model (see our practical example on the BMW 5 series ).
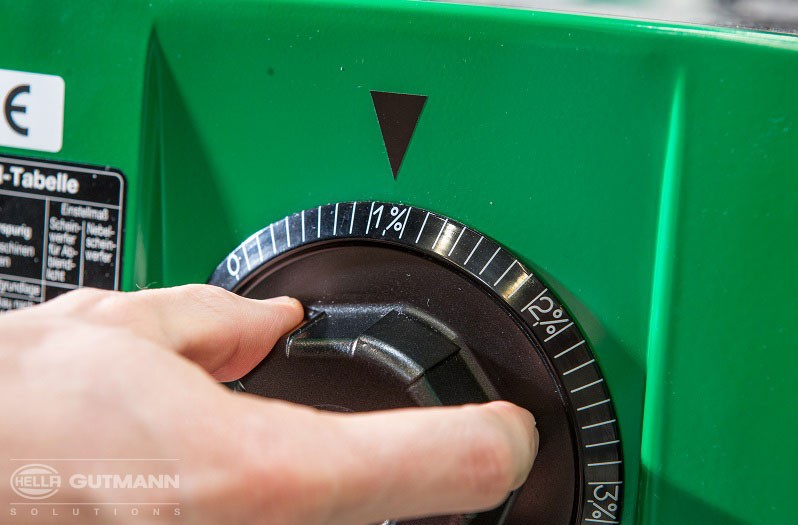
5

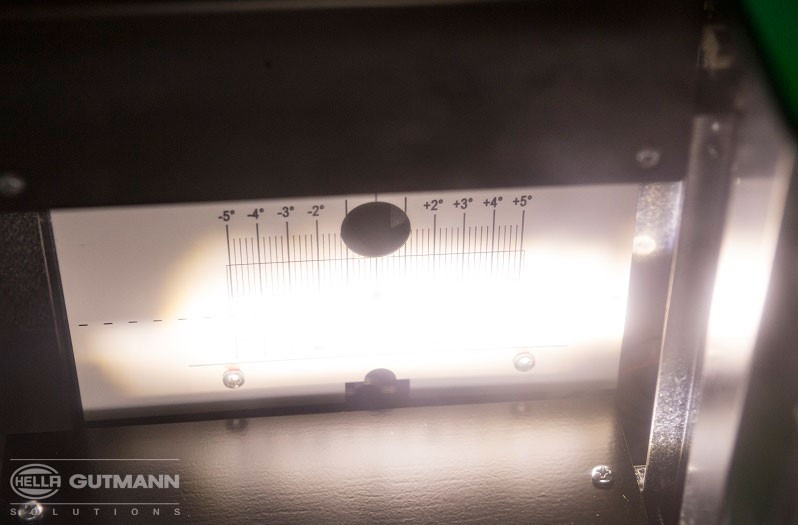
Low beam test

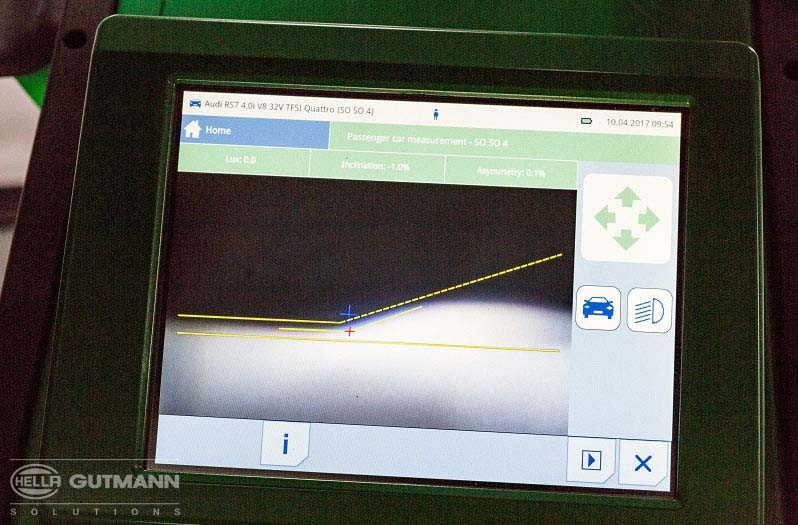
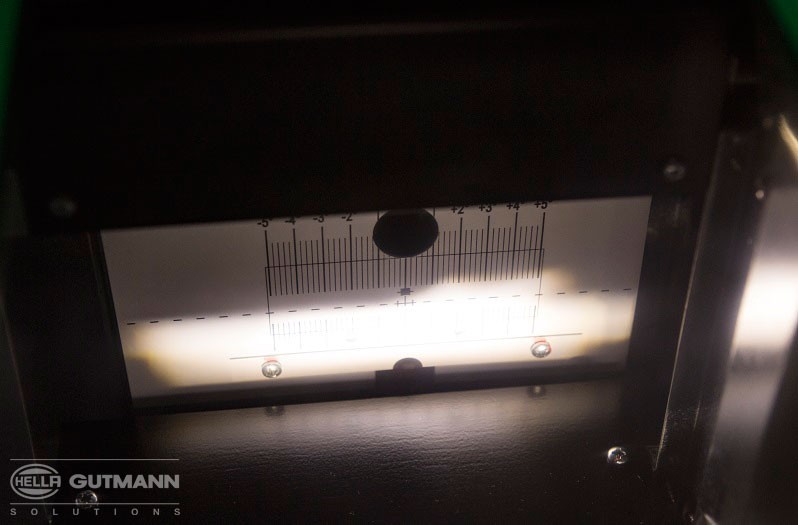
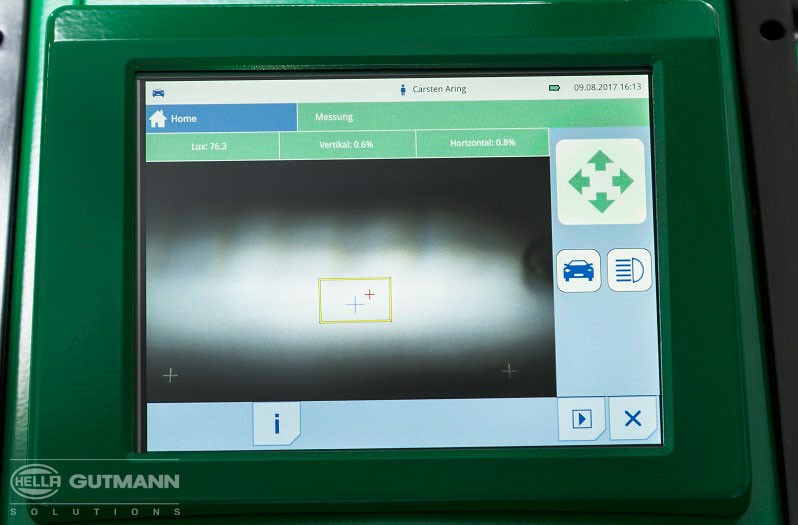
The low beam is measured first. The result can be read on the scale (SEG IV) or on the digital display (SEG V). In the example, the result is OK in each case – see our information box for a description of deviating results.

6

High beam test

The high beam is measured accordingly. This is initiated on the SEG V via the display. The result of the high beam test is also error-free in our practical example.
Practical tip

The SEG IV also makes it possible to measure lux values and thus check the glare effect.

7

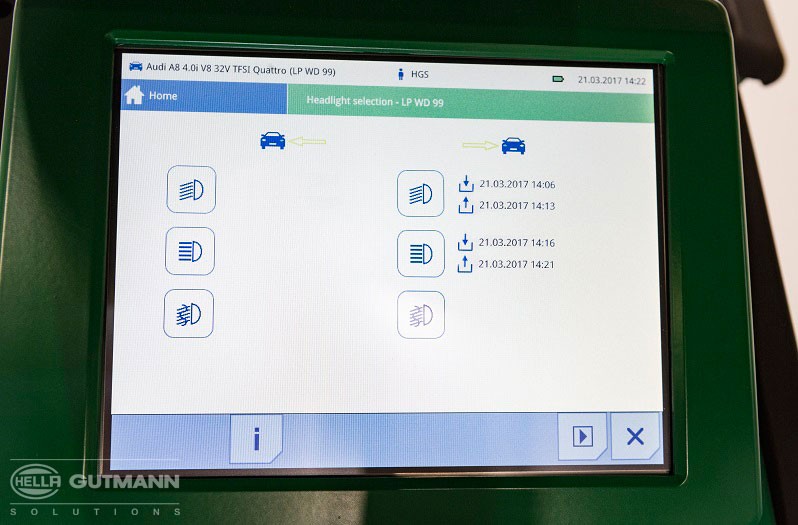
Completion of testing

Once the two main light functions have been checked, the measurement procedure is complete. With the SEG V, the results can be saved for later retrieval. The measurement for the other side of the vehicle is carried out in the same way.
What to do in the event of deviations?

Our example image shows the low beam set too low, using the SEG IV scale as an example. The lamp setting must be accordingly corrected.

Cât de util ți se pare acest articol?

Nu este deloc util
5
4
3
2
1
Foarte util
Succes

Captcha incorectă

Captcha incorectă

Eroare

A apărut o eroare

Căutare piese de schimb
Nr. OE Identificarea manuală a vehiculului
Cei mai importanți producători
Alți producători
Seria de vehicule Înapoi
Vehicul Înapoi

Introduceți numărul OE în câmpul de introducere. De obicei, numărul OE se găsește pe piesa de schimb însăși sau în documentele vehiculului.

Căutare piese de schimb
De asemenea, identificați piesele de schimb cu numerele OE Informații detaliate despre produs Găsiți distribuitori en gros în apropierea dumneavoastră
dummy
Processing Selected Car
Poducători
Seria de vehicule
Vehicul
Puterea motorului
Cilindreea motorului
Tipul de combustibil
Anul de construcție
Codul motorului

Alegeți categoria:
Înapoi
dummy
Distribuie
Trimite prin Copiază linkul
Adresa URL a fost copiată în clickboard!
Numărul articolului
Number
Numărul articolului a fost copiat!
Căutare pe internet Instrucțiuni de montare
Mai multe detalii
Denumirea produsului Valoare
Mai puține detalii

Dealerul dumneavoastră
Autoteile Krammer GmbH
dummy
Lechstraße 1-3
68199 Mannheim
Afișează harta