Injection nozzle / injection valve: Function, fault symptoms and testing instructions

Injection valves provide each cylinder with the required fuel and simultaneously atomise the fuel so that it can burn most effectively in the combustion chamber. Scroll through this page and find out how injection valves work and potential fault symptoms. You will also find useful tips for performing troubleshooting work on injection valves with the engine running and switched off.

Important safety note

The following technical information and practical tips have been compiled by HELLA in order to provide professional support to vehicle workshops in their day-to-day work. The information provided on this website is intended for suitably qualified personnel only.

1. Functional principle

How injection nozzles work

The purpose of injection valves is to precisely inject the fuel quantity calculated by the control unit in all engine operating states. To ensure the fuel is atomised effectively while minimising condensation losses, a certain engine-specific distance and injection angle need to be observed.

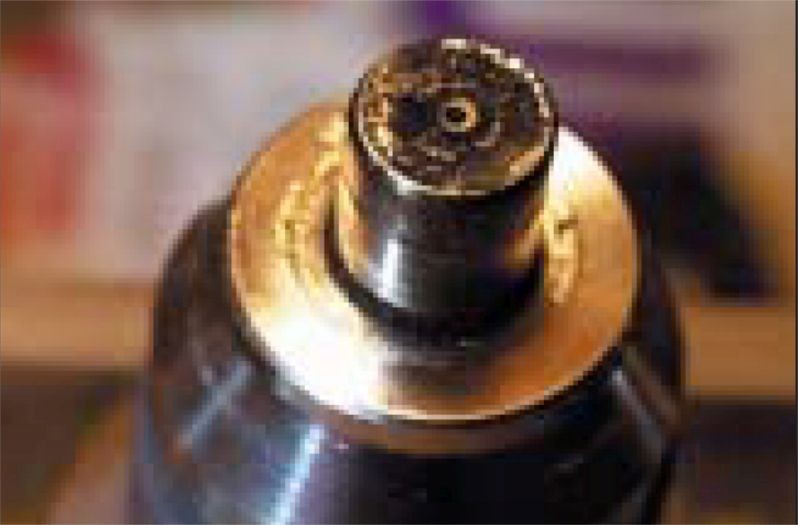
Injection valves are actuated electromagnetically. The control unit calculates and controls the electrical pulses for opening and closing the injection valves on the basis of the current sensor data regarding the engine operating state. Injection valves comprise a valve body, which houses a magnet winding and a guide for the nozzle needle, and a nozzle needle with magnet armature. When the control unit applies voltage to the magnet winding, the nozzle needle rises up from its valve seat and releases a precision bore hole. As soon as the voltage drops, a spring presses the nozzle needle back onto the valve seat and the bore hole is closed again.

The flow rate when the injection valve is open is precisely defined by the precision bore hole. In order to inject the fuel quantity calculated for the operating state, the control unit calculates the opening time for the injection valve in a comparison with the flow rate. This ensures that the precise fuel quantity is always injected. The design of the valve seat and the precision bore hole ensure that the fuel is optimally atomised.

2. Symptoms

Injection nozzle faulty

If an injection valve is faulty or not working properly, it can cause the following fault symptoms:

  • Problems starting
  • Increased fuel consumption
  • Loss of power
  • Fluctuating idle speed
  • Poor exhaust emission performance (e.g. emissions test readings)

Potential consequential damage:

  • Shorter engine service life
  • Damage to the catalytic converter and diesel particulate filter
3. Cause of failure

Causes of faulty injection nozzles

If the injection valve is faulty or has reduced functionality, the cause may be:

  • A blocked filter screen in the injection valve as a result of contaminated fuel
  • A poorly closing needle valve caused by tiny dirt particles from the inside, combustion residue from the outside, additive deposits
  • A clogged, closed outflow bore hole
  • A short circuit in the coil
  • A cable break to the control unit
4. Troubleshooting

Checking injection nozzles

Troubleshooting can be performed both when the engine is running and when it has been switched off.

Troubleshooting when the engine is running

1

Compare the injected fuel quantity

Using a cylinder comparison measurement and simultaneous exhaust measurement, the injected fuel quantity can be compared based on the drop in speed and the HC and CO values for the individual cylinders. In the best case, the values will be identical for all cylinders. If there are major deviations between the values, it may be that not enough fuel is being injected (a large quantity of unburnt fuel = high HC and CO values, whereas little unburnt fuel = low HC and CO values). The cause may be a faulty injection valve.

2

Read off and compare the voltage and the pulse duration

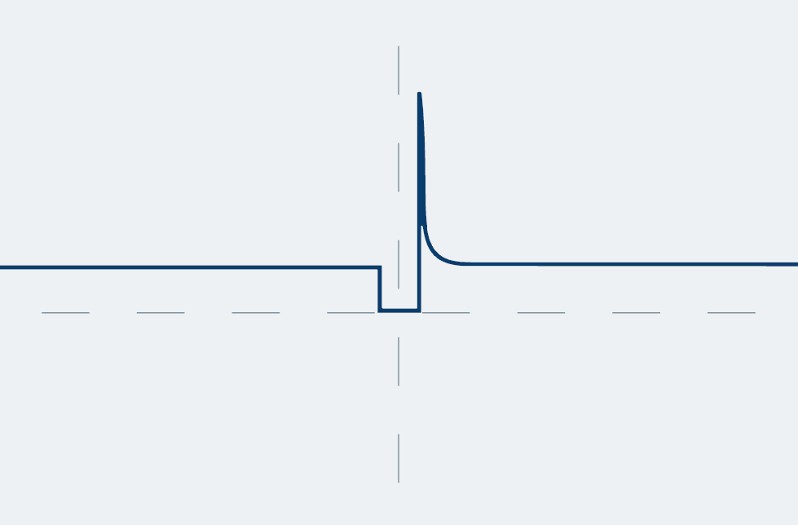
The injection signal can be depicted using an oscilloscope. For this purpose, connect the measurement line to the signal line, and the other line to a suitable ground pin. With the engine running, it is possible to read off the voltage and the pulse duration (opening time) from the signal pattern. When opening the throttle valve, the pulse duration must increase during the acceleration phase, and with a constant engine speed (around 3000 RPM) it must fall back to, or just below, the idle value. The results of individual cylinders can be compared with each other, and this may provide an indication of potential faults, e.g. a poor voltage supply.

3

Measure the fuel pressure and check the intake and exhaust systems for leaks

Other important tests are measuring the fuel pressure, in order to identify other components that may be faulty (fuel pump, fuel filter, pressure regulator), and checking the intake and exhaust systems for leaks, to prevent false measurement results. If the sensor has a 2-pin connector, it is most likely to be an inductive sensor. In this case, the internal resistance, a potential short circuit to frame, and the signal can be determined.

To do this, remove the plug connection and check the internal resistance of the sensor. If the internal resistance value is 200 to 1,000 ohms (depending on the reference value), the sensor is OK. If the value is 0 ohms, there is a short circuit, and in the case of M Ohm there is a break. The test for a short circuit to frame is carried out using the ohmmeter from a connection pin to vehicle ground. The resistance value must tend toward infinity. The test using an oscilloscope must result in a sinus signal of sufficient strength. In the case of a Hall generator, only the signal voltage in the form of a square wave signal and the supply voltage are to be tested. This must result in a square wave signal depending on the engine speed. We should repeat at this point that the use of an ohmmeter can destroy the Hall generator.

Troubleshooting when the engine/ignition is switched off

1

Check the continuity of the cable connection

Check the continuity of the cable connection between the injection valves and the control unit (the circuit diagram for the pin assignment is required). In order to conduct this measurement, pull out the control unit connector and check the individual cables of the injection valve connectors to the control unit. Reference value: Approx. 0 ohms.

2

Check the cable connection for a short circuit to frame

Check for a short circuit to frame in the cable connection between the injection valves and the control unit. With the control unit connector pulled out, measure the cables from the injection valve connectors to the control unit against vehicle ground.

3

Check the continuity of the injection valve coils

Check the continuity of the injection valve coils. To do so, connect the ohmmeter between the two connection pins. Reference value: Approx. 15 ohms (note manufacturer specifications).

4

Check the injection valve coils for a short circuit to frame

Check the injection valve coils for a short circuit to frame. For this purpose, check the continuity of each individual connection pin against the valve housing. Reference value: >30 MOhm.

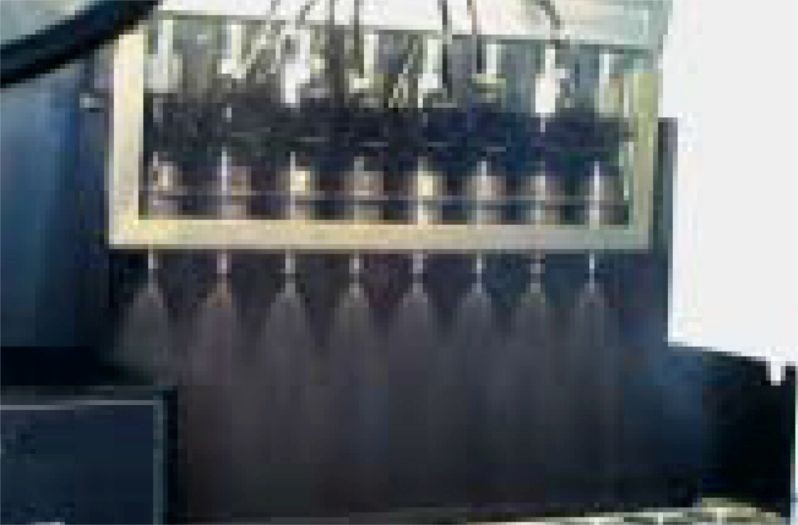
On a stationary test stand, it is possible to test the spray pattern of the injection nozzles when they are disassembled. Depending on the device manufacturer, it may also be possible to clean the injection valves.

Jak moc vám tento článek pomohl?

Vůbec nepomohl
5
4
3
2
1
Velmi užitečný
Děkujeme za váš názor!

Nesprávný kód Captcha

Nesprávný kód Captcha

Došlo k chybě

Something went wrong

Vyhledávač náhradních dílů
Číslo dílu Ruční identifikace vozidla Univerzální díly
Přední výrobce
Ostatní výrobci
Řada vozidel Zpět
Vozidlo Zpět

Zadejte číslo OE do vstupního pole. Číslo OE obvykle najdete přímo na náhradním dílu nebo v dokladech k vozidlu.

Vyhledávač náhradních dílů
Určete také náhradní díly podle čísel originálních dílů (OE) Podrobné informace o produktu Najděte velkoobchody ve vašem okolí
dummy
Processing Selected Car
Výrobce
Řada vozidel
Vozidlo
Výkon motoru
Objem motoru
Druh paliva
Rok výroby
Kód motoru

Vyberte kategorii:
Zpět
dummy
Sdílejte
Odeslat přes Kopírovat odkaz
URL byla zkopírována do schránky!
Číslo článku
Number
Číslo článku bylo zkopírováno!
Vyhledávání na webu Návod k montáži
Další podrobnosti
Jméno Hodnota
Zobrazit méně podrobností

Váš prodejce
Autoteile Krammer GmbH
dummy
Lechstraße 1-3
68199 Mannheim
Zobrazit mapu

You might also be interested in

TPS sensor
Základní znalosti
TPS sensor – function & troubleshooting
Learn how to check a throttle potentiometer for defects and recognize the most common symptoms.
Doba čtení: 2 minuty
Throttle valve switch
Základní znalosti
Throttle valve switch – function & troubleshooting
Everything you need to know to diagnose and repair the throttle valve switch - helpful workshop tips.
Doba čtení: 2 minuty
Camshaft position sensor
Základní znalosti
Camshaft position sensor - function & troubleshooting
Learn all about the function and testing of the camshaft sensor and possible symptoms of a defect.
Doba čtení: 2 minuty
Accelerator pedal sensor
Základní znalosti
Accelerator pedal sensor – function & design
Important tips for checking the accelerator pedal sensor and rectifying defects - practical knowledge for your workshop.
Doba čtení: 3 minuty
Základní znalosti
Checking the exhaust gas temperature sensor
Step-by-step instructions for testing the exhaust gas temperature sensor - shown on the VW Passat 2.0 TDI.
Doba čtení: 3 minuty
Idle speed controllers / idle speed actuators
Základní znalosti
Idle speed controller & actuator - function & check
Everything you need to know about testing and troubleshooting idle speed regulators: function, typical symptoms and repair tips for your workshop.
Doba čtení: 3 minuty
Intake-air temperature sensor
Základní znalosti
Intake-air temperature sensor - checking & faults
Discover how to check the intake air temperature sensor for defects and how to replace it efficiently.
Doba čtení: 3 minuty
What is a lambda sensor?: Comprehensive technical information
Základní znalosti
Lambda sensor testing and troubleshooting
Find out how to check and measure lambda sensors - with step-by-step instructions for fault diagnosis.
Doba čtení: 14 minut
Air-mass sensor
Základní znalosti
Air-mass sensor - Function & troubleshooting
Learn how to check a mass air flow sensor, detect defective sensors and replace them professionally.
Doba čtení: 2 minuty
Car knock sensor
Základní znalosti
Car knock sensor - function & troubleshooting
Find out how to check the knock sensor for malfunctions and rectify possible fault symptoms.
Doba čtení: 2 minuty