Lamp setting on the BMW 530D F07

Scheinwerfer einstellen bei einem BMW 530d f07

Important safety note

The following technical information and practical tips have been compiled by HELLA in order to provide professional support to vehicle workshops in their day-to-day work. The information provided on this website is intended for suitably qualified personnel only.

Step-by-step instructions

1

Vehicle and work preparation

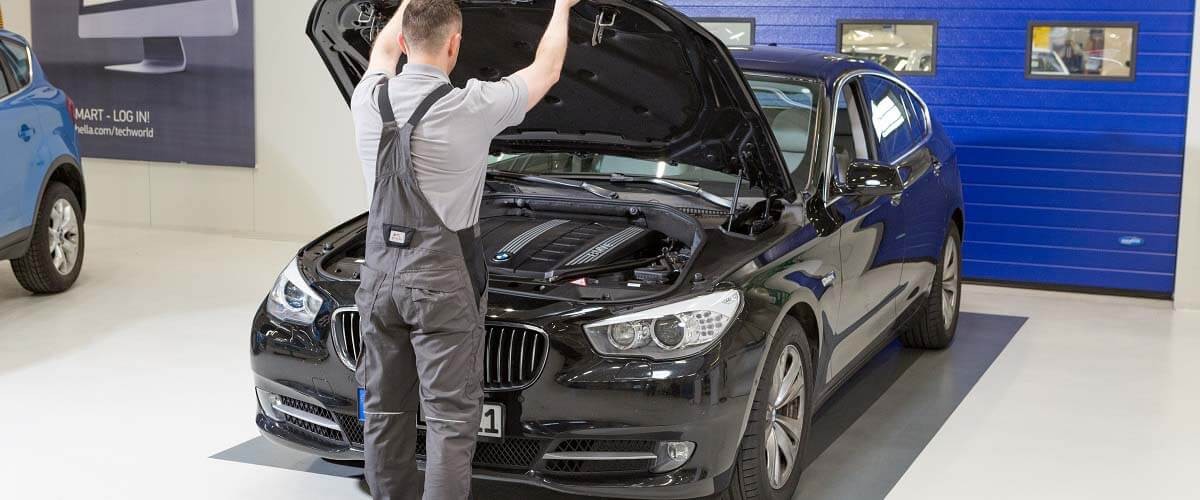
Regardless of the SEG used, the vehicle has to be properly prepared before the actual measurement procedure or setting is started. This includes correct positioning on the lamp setting station, a detailed visual inspection and also the connecting up of a battery charger.

2

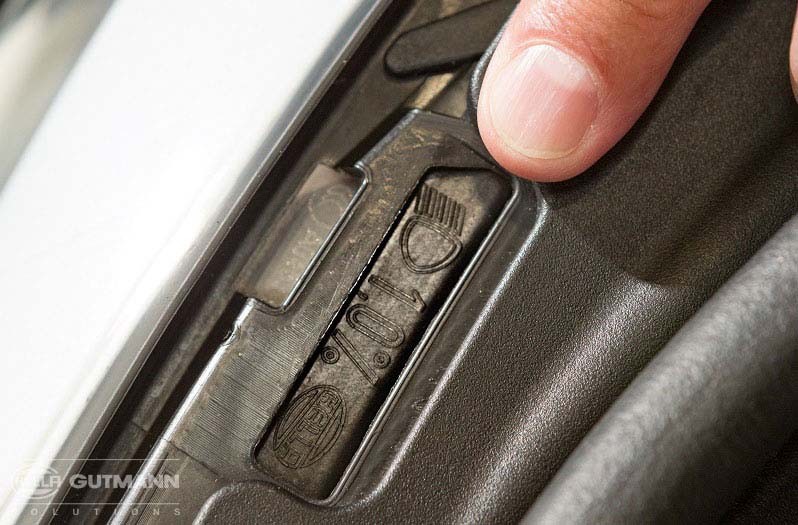
Reading the forward inclination

The next step is to read off the required forward inclination of the cut-off line for the lamp. In the BMW 5 series, this information is located directly on the lamp.

3

Aligning of the SEG

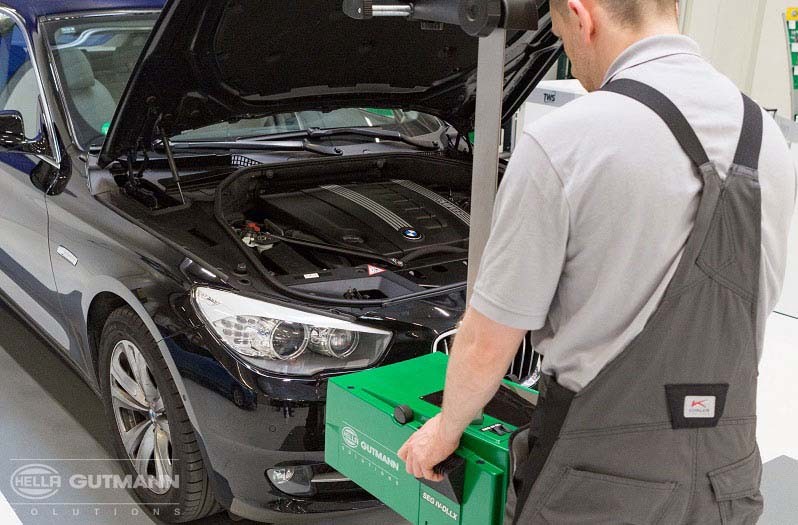
The SEG is now aligned to the vehicle with the aid of laser aiming.

4

Positioning of the SEG

After alignment to the vehicle, the SEG is positioned correctly towards the lamp using the laser pointer.

5

Testing the low beam

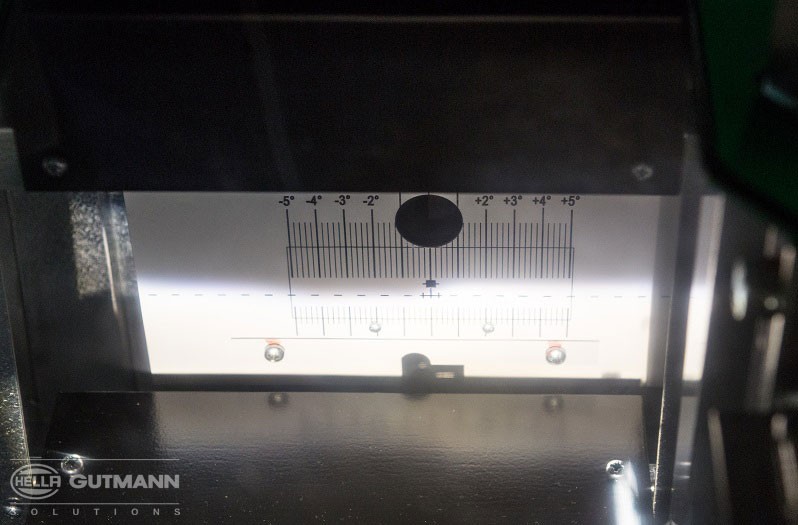
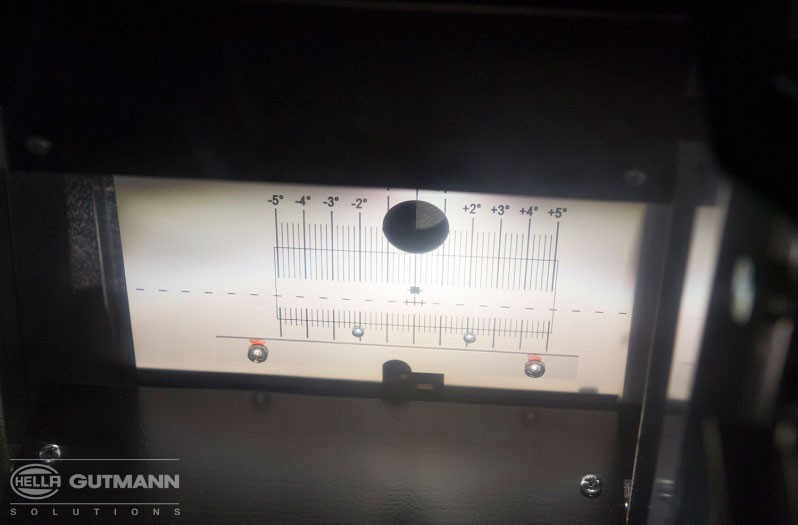
SEG IV

The test scale shows the measurement of the low beam on the SEG IV. This is set correctly in the example. If the scale deviates upwards or downwards, the lamp must be readjusted accordingly.

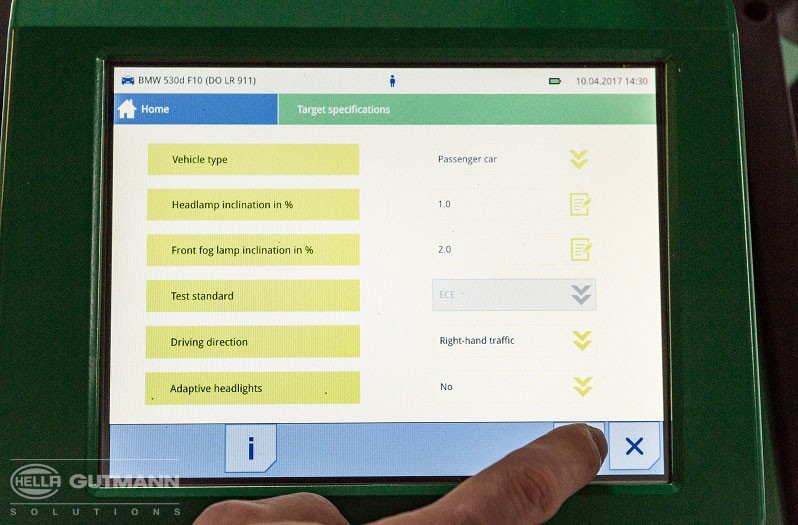
SEG V

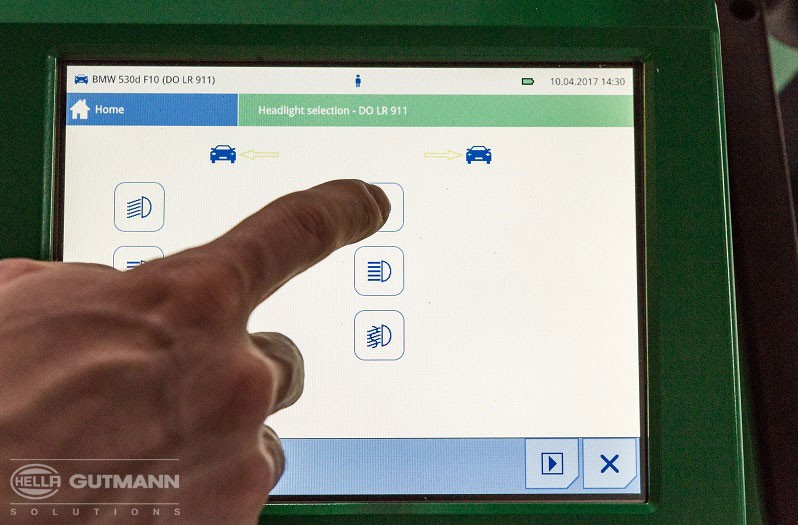
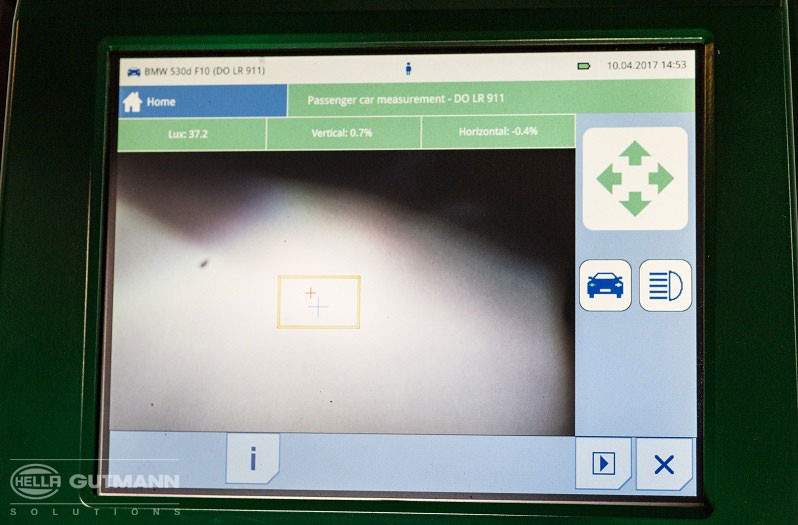
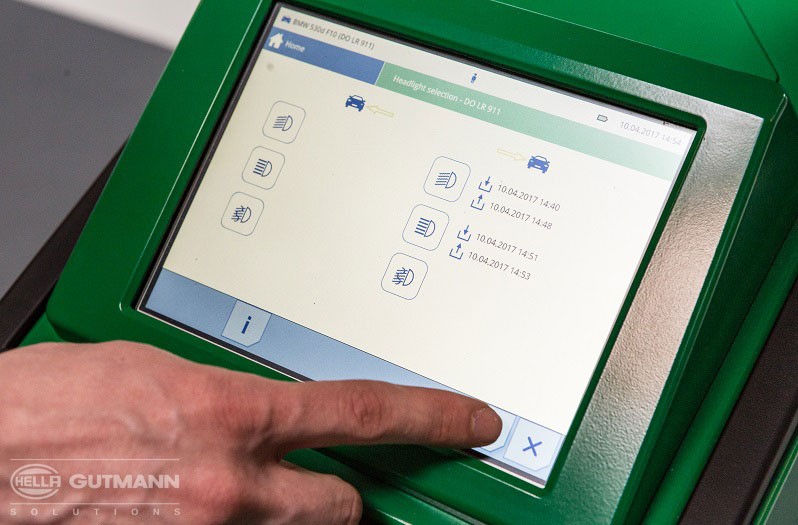
With the SEG V, the test procedure is initiated via the device menu. Firstly, the vehicle to be tested is selected. The vehicle can be selected from the vehicle database (as in the example) or created manually. In addition, vehicles that have already been tested can be saved in a history and called up at a later date.

The menu is also used to enter the forward inclination angle, to select left-hand or right-hand drive and also to specify the adaptive front headlamp system (AFS).

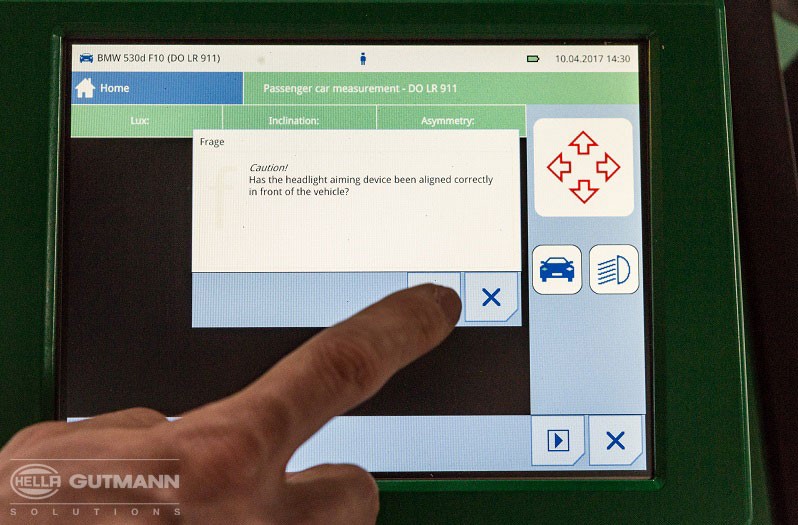
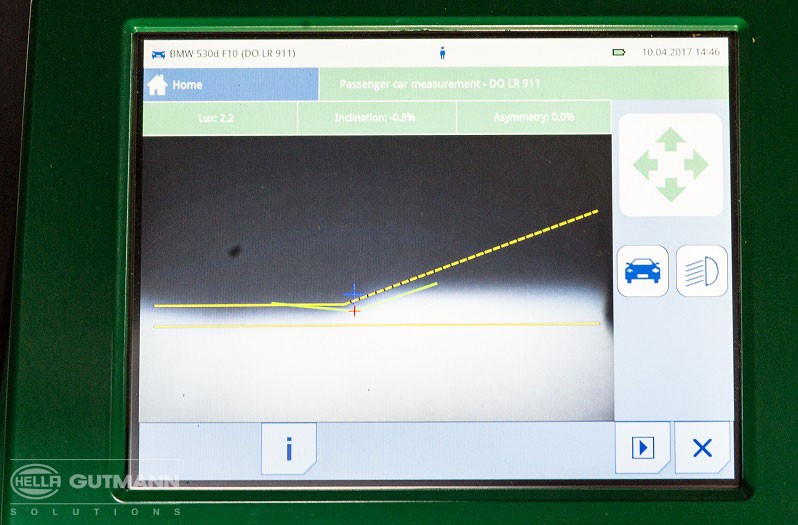
The low beam test for the right-hand side of the vehicle is initiated by tapping the symbol. After confirming the positioning information, the measurement is taken and the result is displayed directly. In the example, the measurement result is OK.
6

Testing the high beam

Once the measurement of the low beam function has been completed, the test for the high beam is carried out accordingly on both devices.

7

Completion of the test (SEG V)

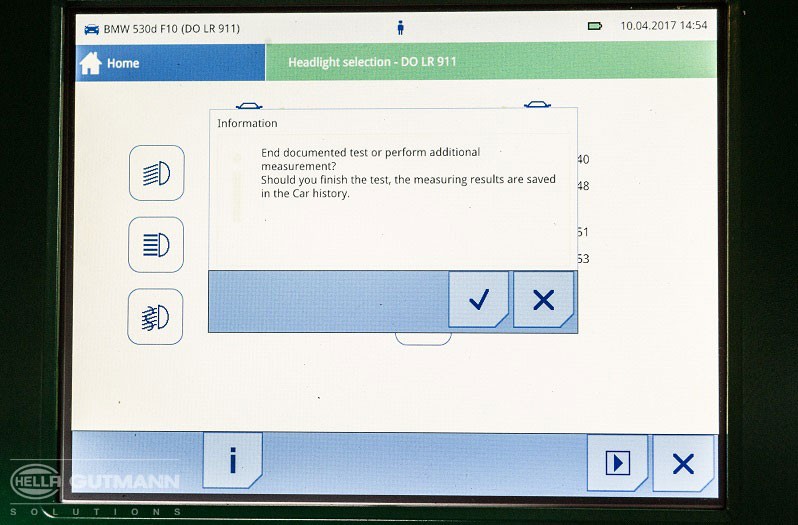
With the SEG V, the measurements carried out are displayed with the date and time once each test has been completed. The results are automatically saved in the measurement history and can be called up again later at any time.

Jak moc vám tento článek pomohl?

Vůbec nepomohl
5
4
3
2
1
Velmi užitečný
Děkujeme za váš názor!

Nesprávný kód Captcha

Nesprávný kód Captcha

Došlo k chybě

Something went wrong

Vyhledávač náhradních dílů
Číslo dílu Ruční identifikace vozidla Univerzální díly
Přední výrobce
Ostatní výrobci
Řada vozidel Zpět
Vozidlo Zpět

Zadejte číslo OE do vstupního pole. Číslo OE obvykle najdete přímo na náhradním dílu nebo v dokladech k vozidlu.

Vyhledávač náhradních dílů
Určete také náhradní díly podle čísel originálních dílů (OE) Podrobné informace o produktu Najděte velkoobchody ve vašem okolí
dummy
Processing Selected Car
Výrobce
Řada vozidel
Vozidlo
Výkon motoru
Objem motoru
Druh paliva
Rok výroby
Kód motoru

Vyberte kategorii:
Zpět
dummy
Sdílejte
Odeslat přes Kopírovat odkaz
URL byla zkopírována do schránky!
Číslo článku
Number
Číslo článku bylo zkopírováno!
Vyhledávání na webu Návod k montáži
Další podrobnosti
Jméno Hodnota
Zobrazit méně podrobností

Váš prodejce
Autoteile Krammer GmbH
dummy
Lechstraße 1-3
68199 Mannheim
Zobrazit mapu