Preparation
The Audi RS 7 itself also has to be first prepared. This means the following: park at the standardised lamp station , connect the battery charger and visually inspect the lamps and their functions.
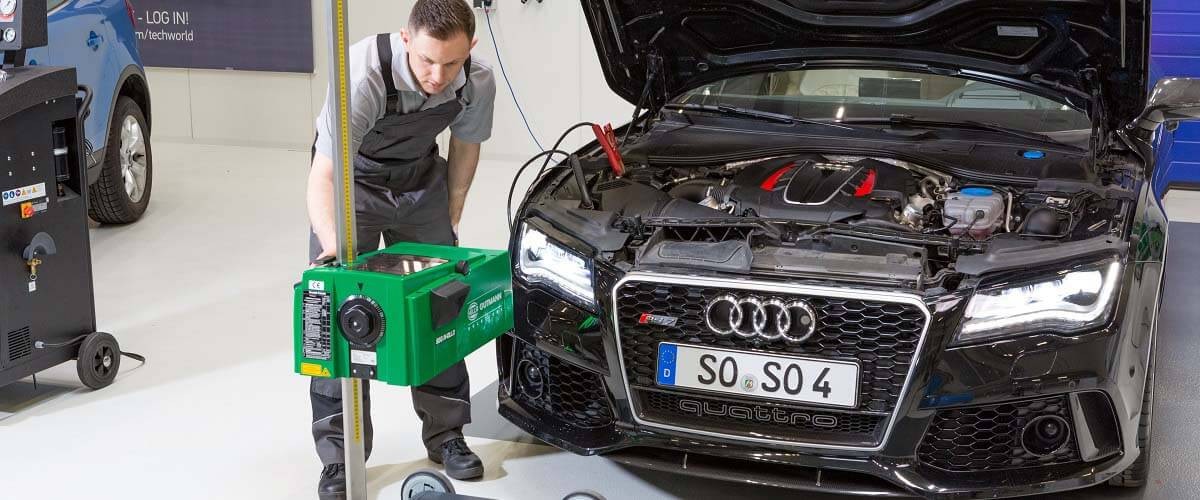
The Audi RS 7 itself also has to be first prepared. This means the following: park at the standardised lamp station , connect the battery charger and visually inspect the lamps and their functions.
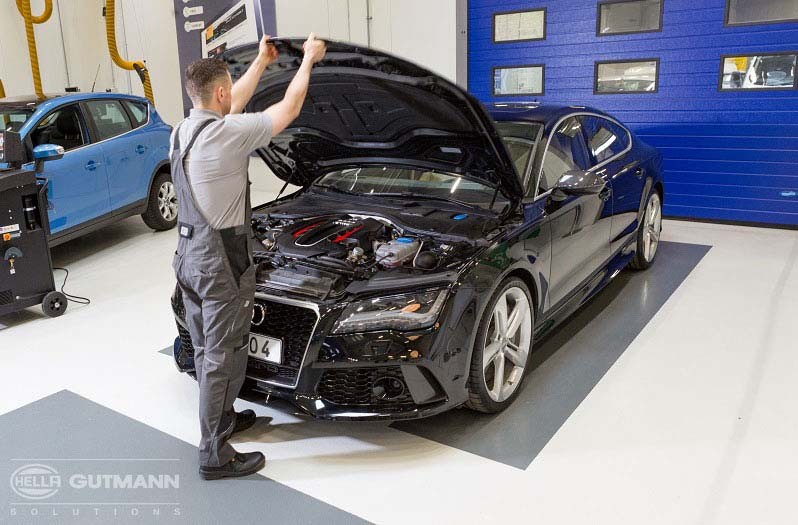
The next step is the SEG being correctly aligned to the vehicle with laser assistance.
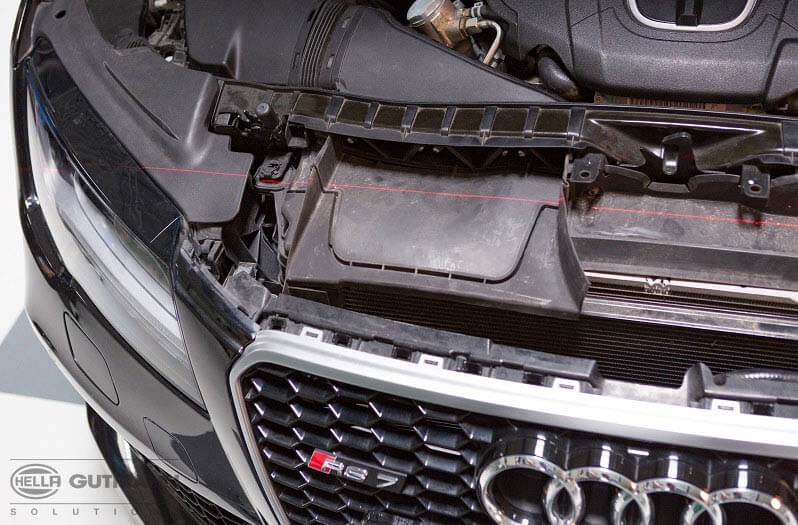
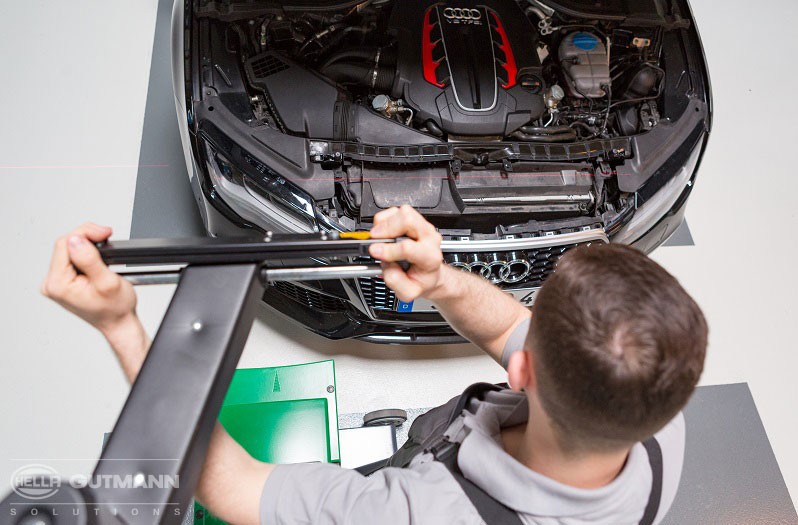
With the SEG IV, the device is optimally positioned to each individual light source with the aid of the laser pointer (for double lamps, repositioning is necessary for each one for low beam/high beam).
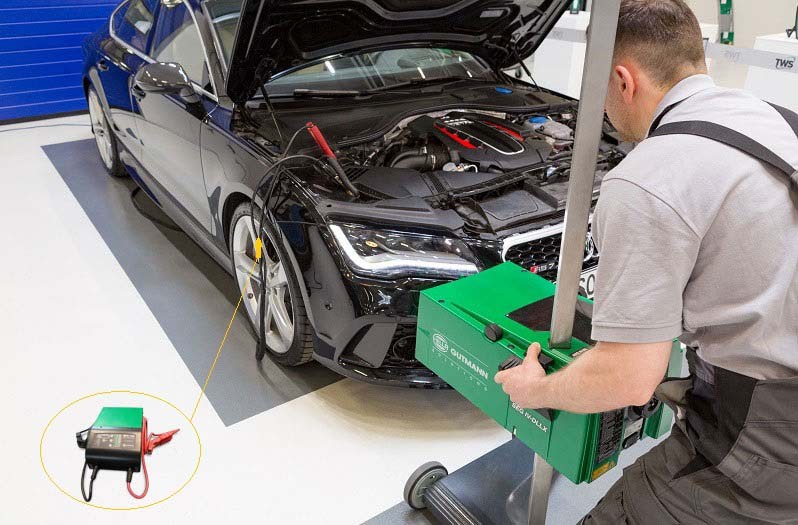
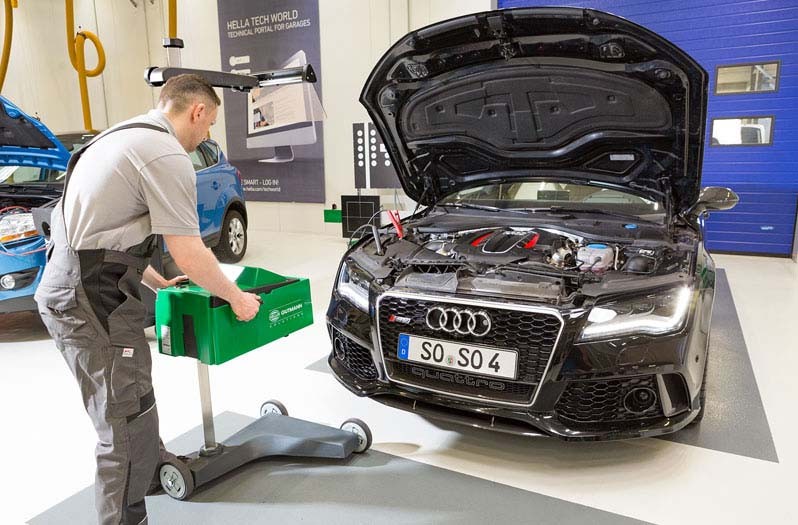
The required forward inclination is read off the lamp on the RS 7 and set manually on the SEG IV using the rotary control knob on the device. With the SEG V, the setting is automatically taken over in accordance with the menu-guided vehicle selection.

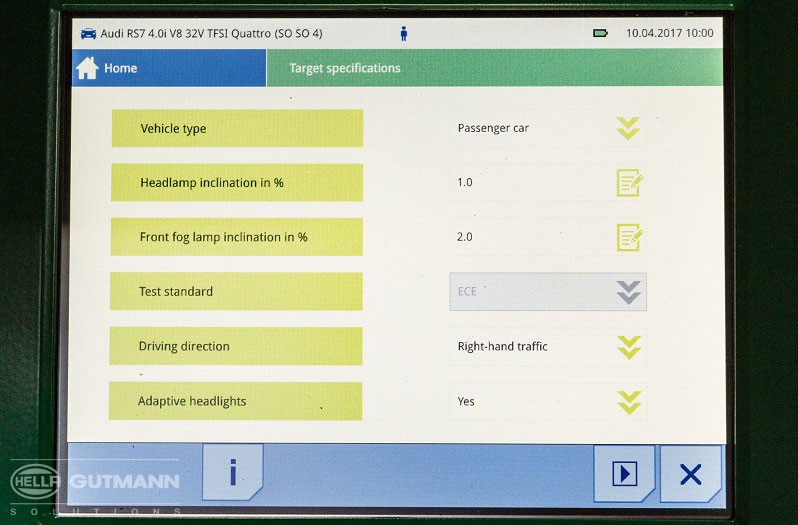
The measurement of the low beam is then initiated. The result can then be read on the scale on the device (SEG IV) or on the screen (SEG V).

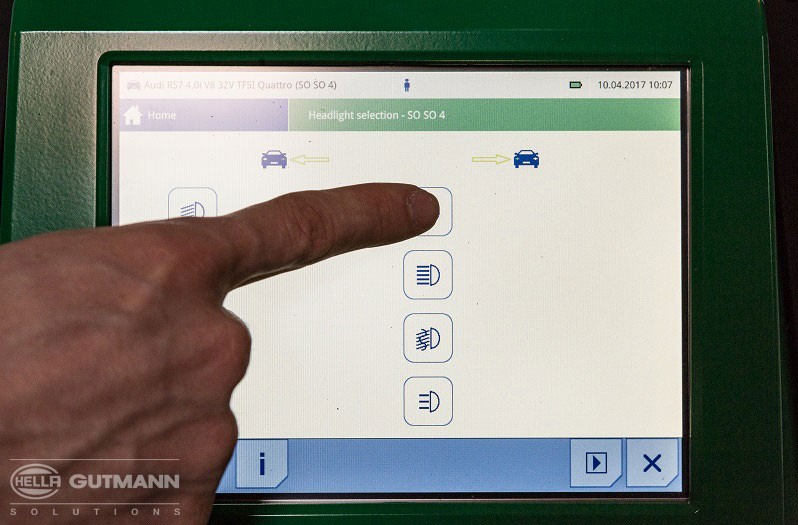
The measurement results in our example confirm in each case a correct setting, which is then confirmed on the SEG V via the touchscreen. Our practical example for the Mercedes W212 on page 38 shows you what you need to bear in mind in the event of a deviating measurement result.

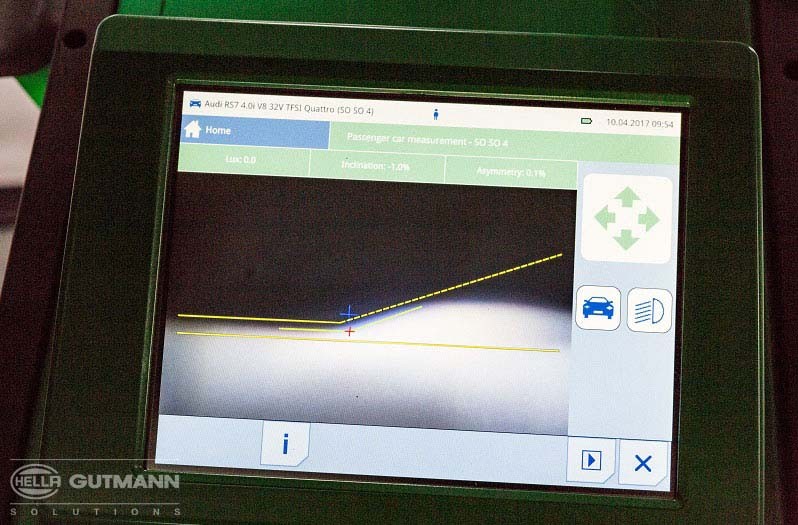
The high beam is measured accordingly.

In this case, too, the measurement results are OK.


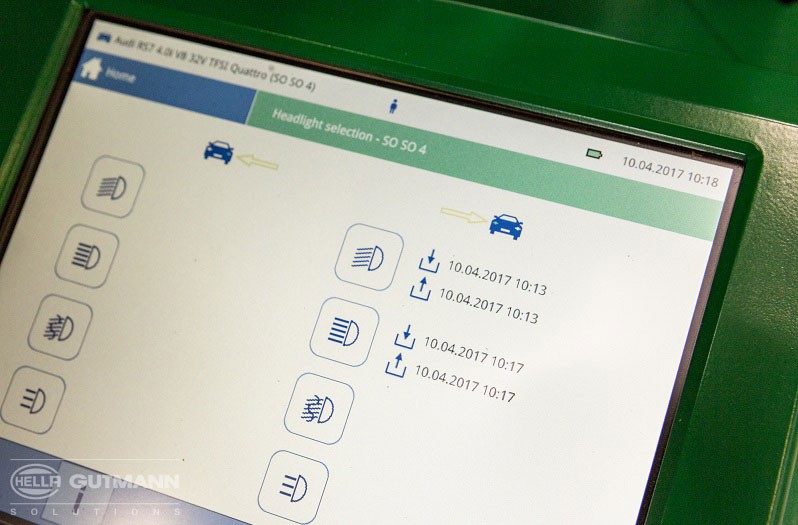
The SEG V displays the successfully completed measurements.
The results are automatically stored in the history and can be called up again later at any time.